
How To: Creating Rotational Backups.
In this guide we will show you how to create manual backups of your Connect database. A common approach to doing this is to perform a daily, weekly and monthly copy of your database. To do this, you will need to have some form of external media – a usb hard drive/memory stick would be ideal, and you may also consider some form of ‘Cloud’ backup as well.
[su_divider]
Setup
Find out what size hard drive to use by going to;
C:IR ConnectLive Now locate ‘IR.fdb’ (this is where your data is stored) and multiply the file size by 24 (The number of backups we will create). In my example, my database is 183.9mb. To allow plenty of room for the database to grow, I will round up my size and do my calculations based off of 300mb. 300 (database size) x 24 (number of backups) = 7.2 gb. For this I could use a 8gb external hard drive/usb memory stick, or go for the next size up to allow even more room for growth.
![]()
Now you have a backup media with enough storage, on the media you will need to create a structure for your backups in the format of; Daily – Weekly – Monthly.

Note – You now have your media for backing up and have setup the folder structure ready. The next step is to create the backups into their relevant folders. We are aiming to have the following numbers of backups in the folders;
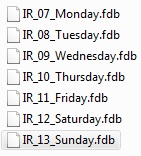
Daily – 7 At the end of each day you will perform your backup, starting on Monday and ending on Sunday. Once you have cycled through this, you will delete the old version for the new version. E.G. Monday 7th Tuesday 8th Wednesday 9th
Thursday 10th
Friday 11th
Saturday 12th
Sunday 13th
When you come to Monday 14th, you will delete Monday 7th and replace with Monday 14th.
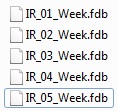
Weekly – 4/5
Depending on the month, this folder will hold 4 or 5 at any given time. Every Sunday, with the backup you copy into the Daily folder, you will also copy into the weekly folder with the relevant date. At the turn of every month, you do the same as daily by starting to delete the old weeks and replace with the new.
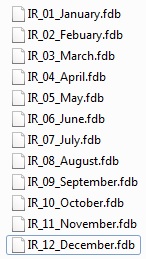
Monthly – 12
This should contain 12 months and at the end of the year you may wish to archive these.
[su_divider]
Daily Process
Once you have setup the backup structure, you need to begin the backup process. At the end of the day, shutdown ‘Connect’ so the till is no longer running. You do this by clicking on the red cross in the top right.
![]()
Navigate to the following; C:IR Connect/Live
![]()
Locate ‘IR.fdb’, ‘right click’ on the mouse and select ‘Copy’.
![]()

Navigate to your external media and go into the relevant folder you created in Step 2 of the ‘Setup’ process.

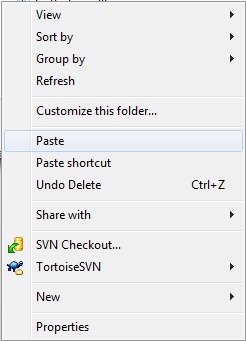
In the relevant folder applicable to your type of backup, ‘right click’ on the mouse and select ‘Paste’.

Now depending on what backup set you were creating, you need to ‘right click’ your copied database and select ‘Rename’.
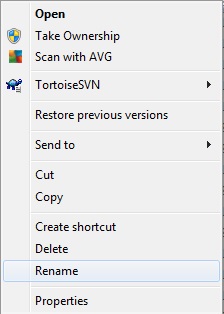
Rename your database relevant to your backup set (Example naming format in the note on Page 2).
[su_divider]
Backing up the whole of Connect
How To: Backing up the Whole Connect Folder.
You may wish to back up your whole Connect system as well, for reasons why you may wish to do this, please refer to the ‘Emergency Planning Guide’. This folder does not require being backed up as regularly as the other procedures, but the more often you can do this, the less likelihood there is of losing data.
Please note to never restore this folder without first contacting Support as we will need to make some changes from our end.
Navigate to the following folder;
C:IR Connect
![]()
Right hand click on the mouse and select ‘Copy’.

Navigate to your backup media.
Right hand click on the mouse and select ‘Paste’.
* Never restore this folder without first contacting support on 0845 680 0127.
Note: There are ways to automate the process of all of these backup procedures using various backup and synchronisation programs; you will need to consult your IT support company to assist with this.
[su_divider]