
Cafe Connect is ideal for retail businesses that include a cafe or small restaurant. It is a modern system that includes a programmable menu, table management, staff login, discounts and central reporting so that you can deliver a fast and efficient service.
With multi-level menus so that you can move in and out of options easily, custom till layouts to set up your layout for each till, as well as other neat functions, Cafe Connect is a good choice if you are running a cafe alongside a shop.
Enabling Café Connect
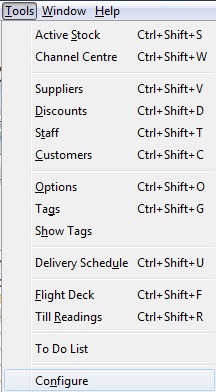
From the Back Office, click on ‘Tools’ then ‘Configure’.
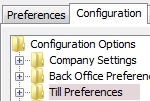
Click ‘Configuration’.
![]()
Open the ‘Till Preferences’ folder.
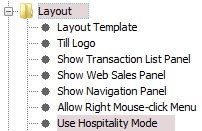
Open the ‘Layout’ folder and then select ‘Use Hospitality Mode’.
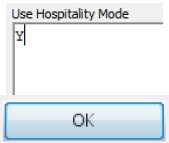
Type ‘Y’ into the right-hand window. Click ‘OK’ and restart Connect.
[su_divider]
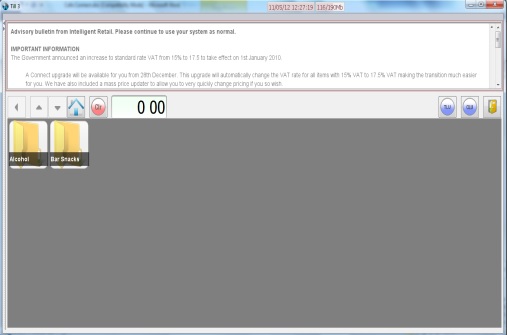
Accessing Café Connect
Start-up Connect & login.

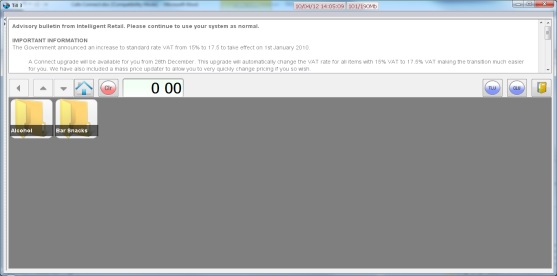
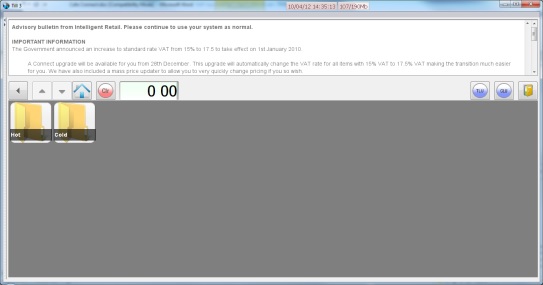
The Café Connect screen will open.

[su_divider]
Adding products
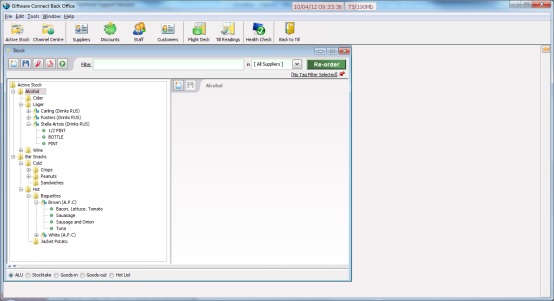
From the Back Office add products to the ‘Active Stock Tree’.
For further information on how to create products please see the help-sheet entitled ‘Stock Creation Quick Start Guide’
Click ‘Back to Till’.
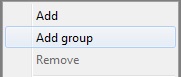
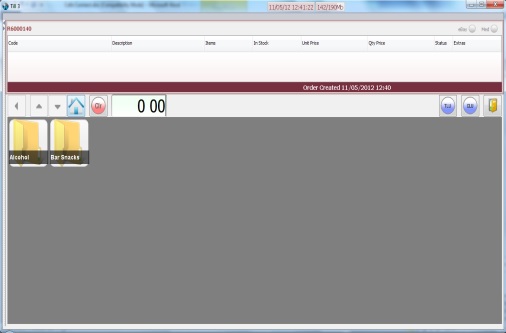
From the Café Connect screen right-click on the large grey area and select ‘Add Group’.
Name the group as you wish it to appear to the person using the till.
Once you have created the groups you need, click on one of them. In this example we will use ‘Bar Snacks’.
The selected folder will open.
It is now possible to add further folders to differentiate your selected folder further. To do this right-click and select ‘New Group’. Continue to do this until you have added the sub categories required.
Continuing the ‘Bar Snacks’ theme. Right click and select ‘Add Group’ then chose the name required.
Once again click on the folder you wish to add further details to. You can continue in this fashion until you have created the layers you feel are necessary for your products.
Once you have added the groups you need, you can then add the products. To do this click through the groups you have created until you come to a blank screen.

Right-click anywhere in the grey window and select ‘Add’. This will display your ‘Active Stock Tree’.
Select the category from which you wish the articles to be displayed from and click ‘Add’ button in the bottom right hand corner.
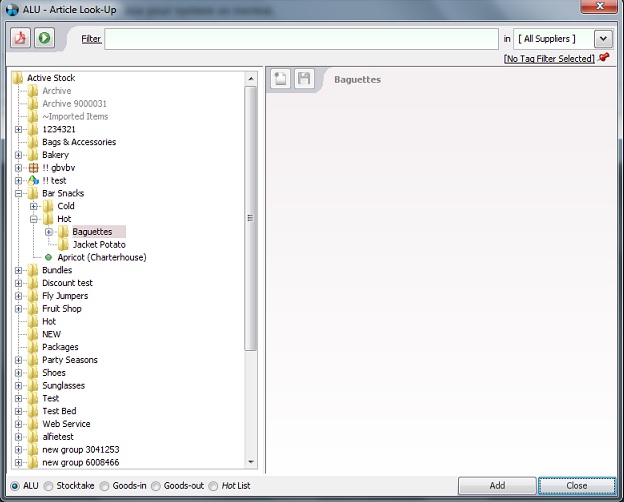
Your articles will now be displayed.
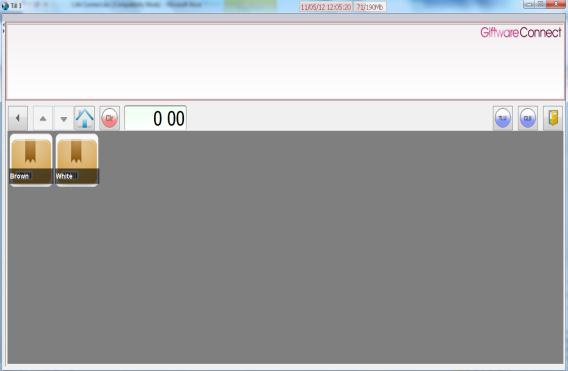
Clicking on your articles will take you to the options available.
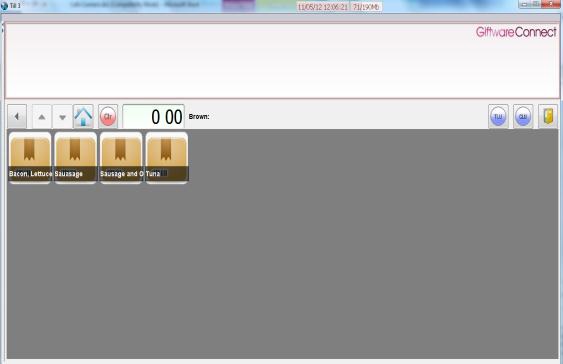
Clicking one of these ‘options’ adds them to the transaction screen.

[su_divider]
Creating & Adding Tables
Create table numbers using the ‘Customer Look-up’ window. Create these just as you would Customer records.
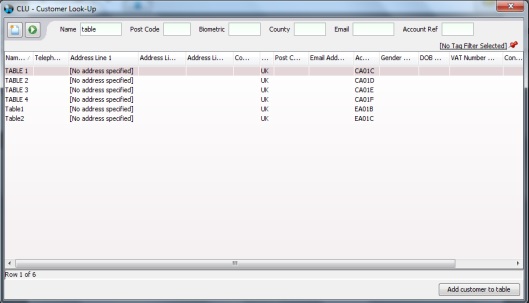
From the main ‘Café Connect’ screen hit the TLU (Table Look Up) button.
Search for the tables in the ‘Customer Look-up’ window. Highlight them and table and hit ‘Add customer to table’.
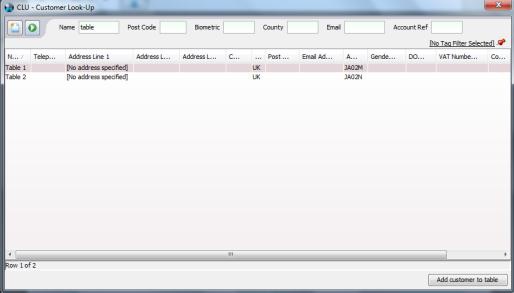
Your tables will now be available for selection when a customer places an order.

[su_divider]
Completing a transaction
Login to Café Connect and click through the menu to add products to the transaction. Repeat this for multiple products.
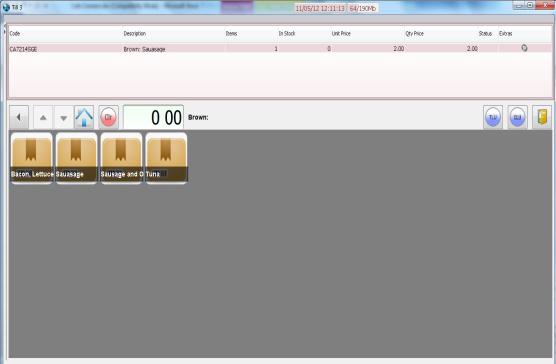
Click the ‘TLU’ button to assign a table to the transaction.
Scan in any products not found in the hospitality menu and add them to the transaction.
Hit the ‘Exit’ button to take payment.
![]()
[su_divider]