
This help-sheet describes the main stages of how to set up your Sagepay account and how to configure Connect for it. Prior to following these steps please ensure you have addressed the following address:-
- Obtain an Internet merchant account (e-merchant account) with an acquiring bank so that payments can
be processed. Sage Pay is an approved payment service provider for the majority of UK banks. For more
details visit www.sagepay.com/help
Go to www.intelligentretail.co.uk and click on ‘About Us’ and ‘Customer Services’
Click on ‘Sage Pay’

Click ‘No’
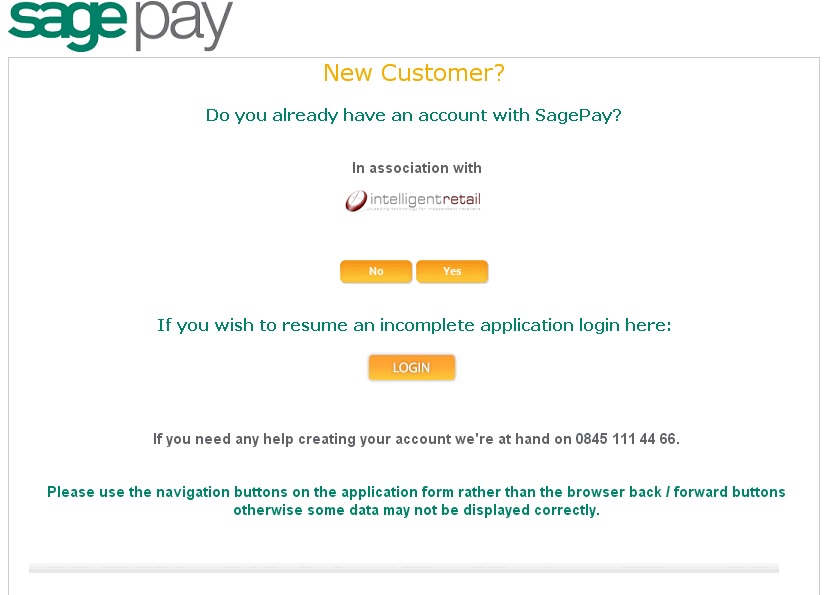
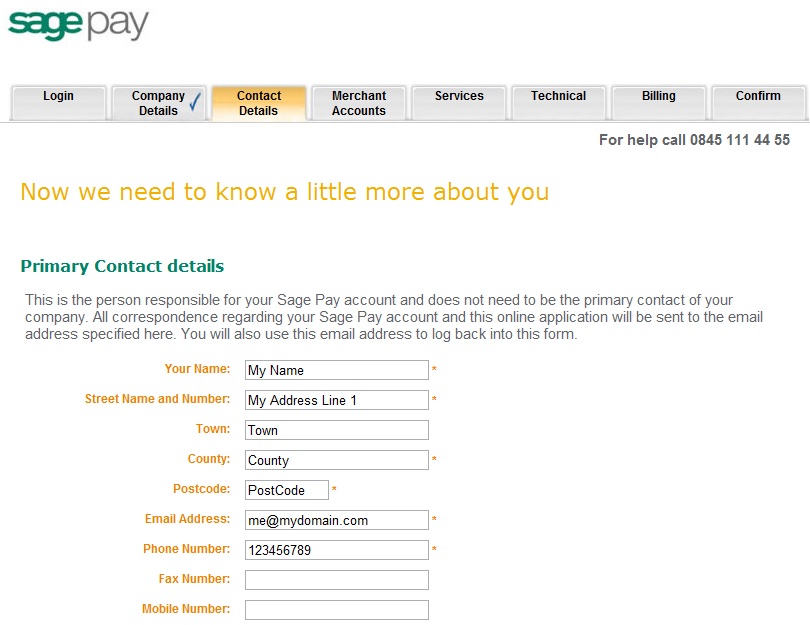
Enter in an email address and confirm it in the next field.
![]()
Scroll down the page and enter in your contact details.
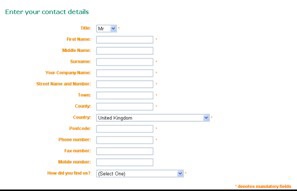
Click ‘Create Account’
![]()
A confirmation message will be displayed to confirm that the first stage of the application has been completed.
A password will be emailed to your specified account.
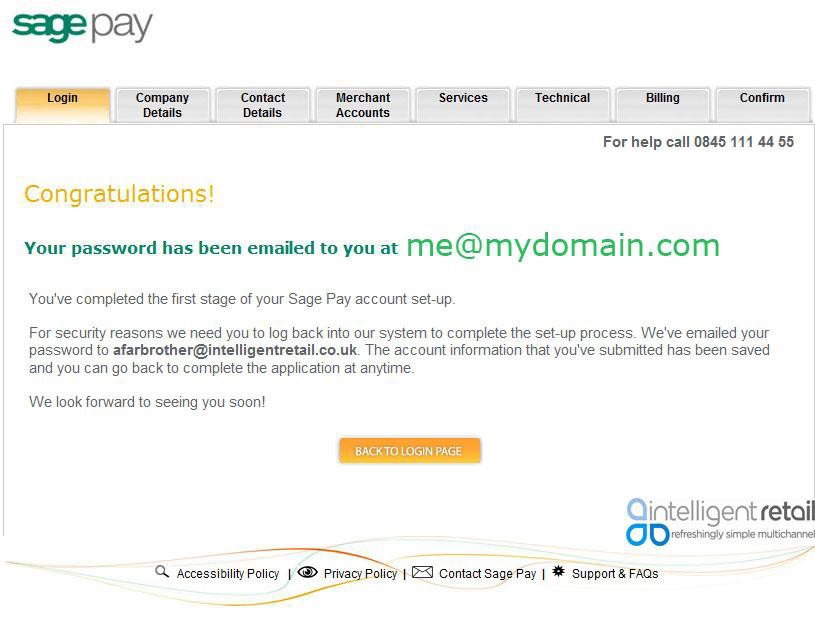
Click ‘Back to Login Page’
![]()
At the login page, enter in your email address the password and vendor name sent to you via email.
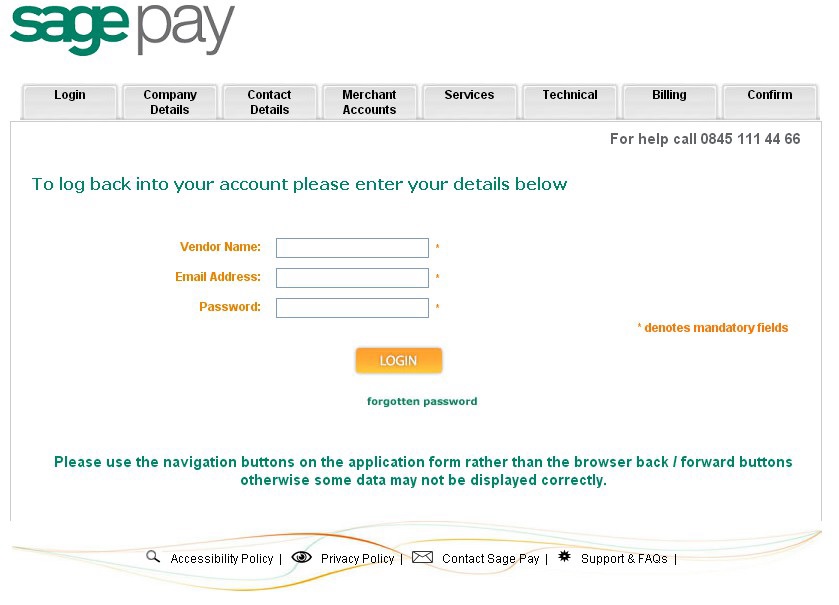
Click ‘Login’
![]()
Change your password and enter a password reminder.
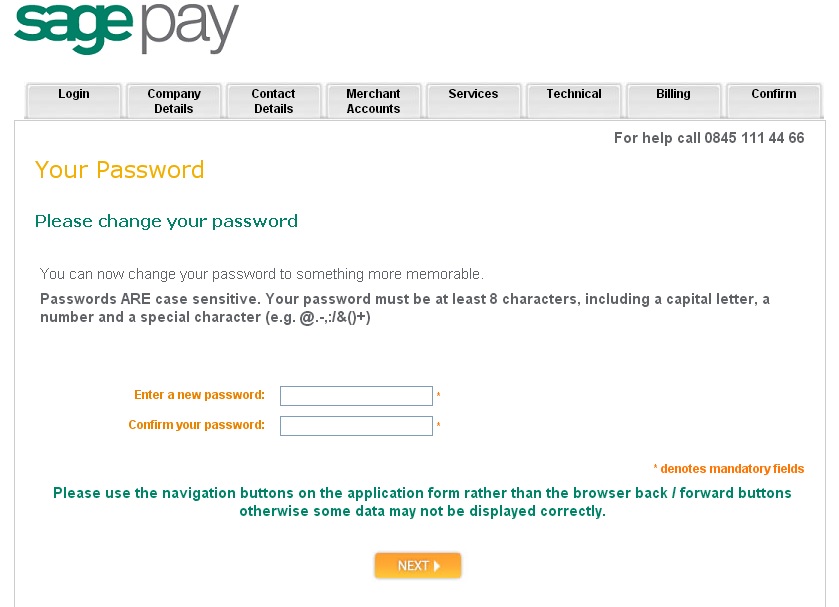
Click ‘Next’
![]()
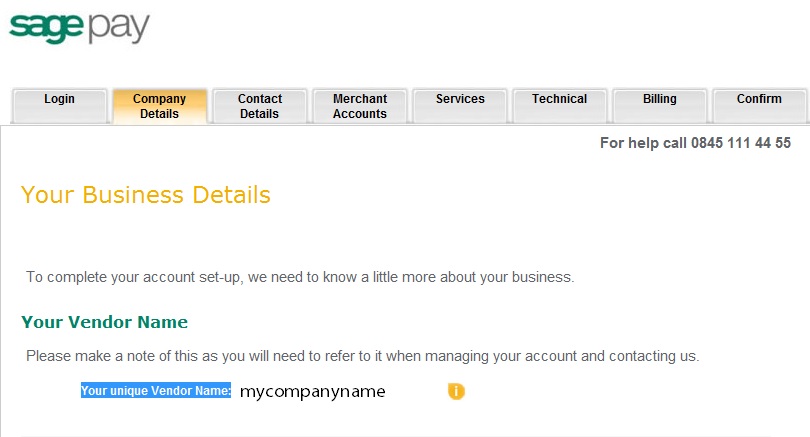
From the ‘Company Details’ page, make a note of ’Your unique Vendor Name’.
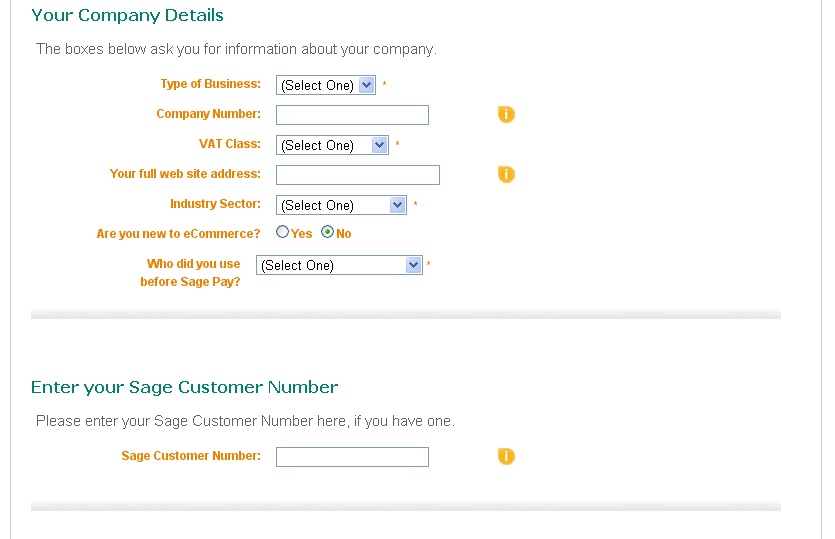
Scroll down and enter in your company details and ‘Sage Customer Number’, if you have one.
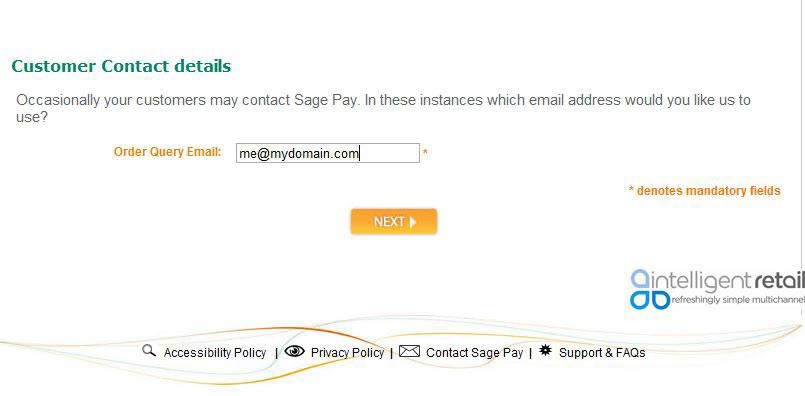
Enter in the email address you wish Sagepay to provide to your customers.
Enter in your Primary, Technical and Billing Contact details if they need to be changed. If the Technical and Billing Contact details are the same as the Primary Contact details, tick the ‘Same as Primary’ box.
Note: The Technical email address is NOT an Intelligent Retail email address.
Click ‘Next’
![]()
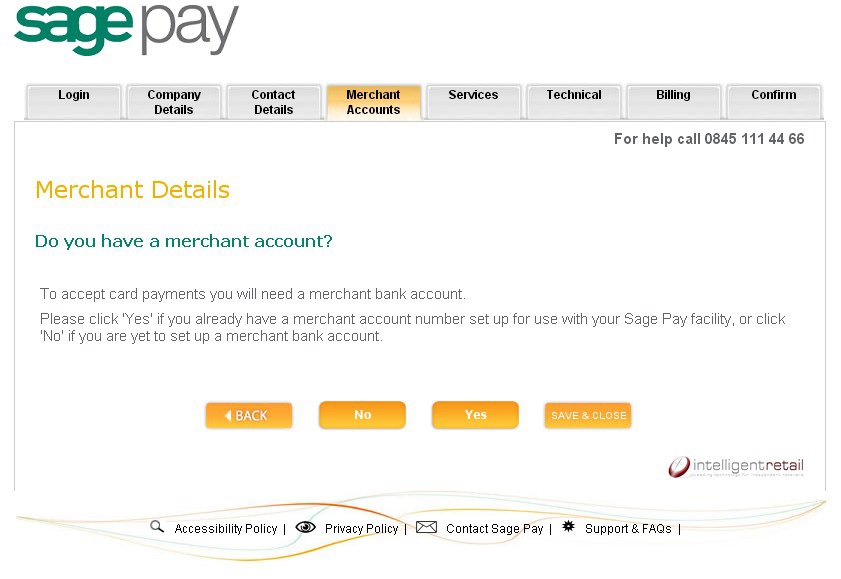
State whether you have a merchant account.
Select Yes to proceed.
Select No and you will be offered an opportunity to create a merchant account outside of the scope of this help guide.
Note: A Merchant Account is required to complete the SagePay application.
How do you want to take payments?
Place a mark in ‘Online (e commerce)’
Do you want to process recurring payments?
Place a mark in ‘No’

Enter in your ‘e-Commerce Merchant Account Details’
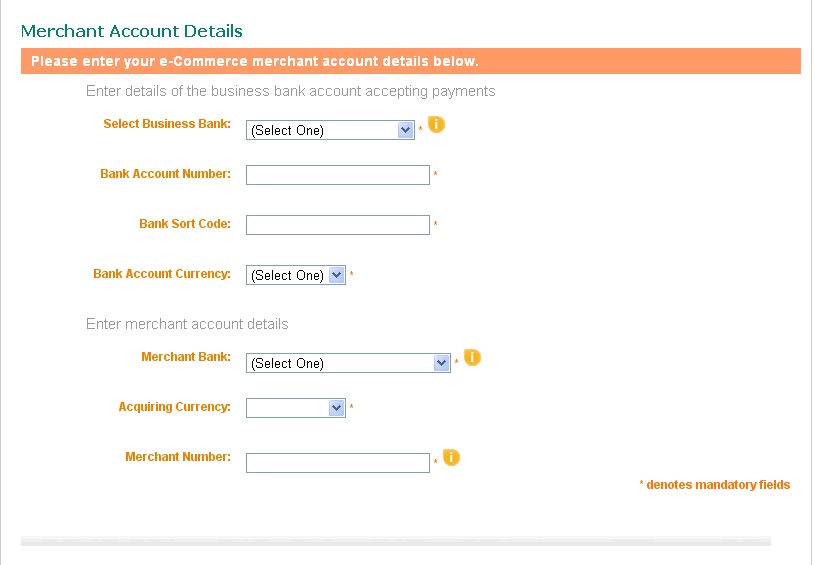
Click ‘Next’
![]()
Review the information you have entered
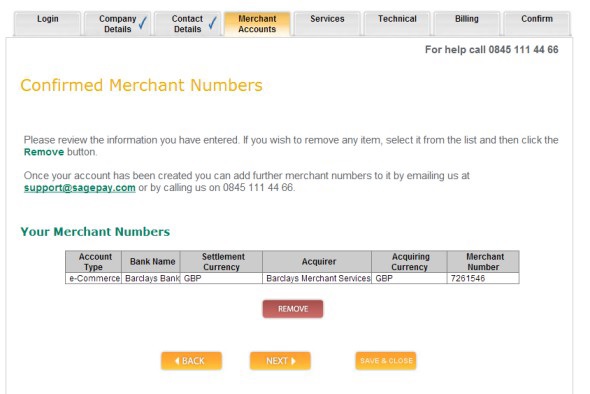
Click ‘Next’
![]()
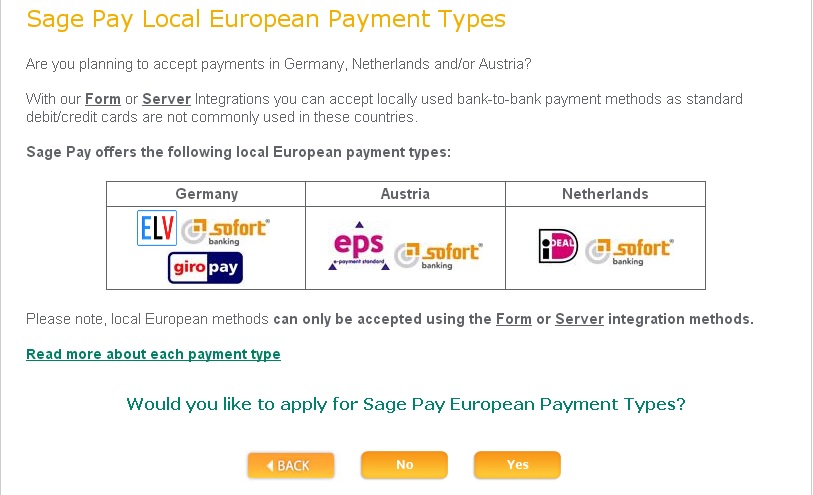
Do you want to accept European payment types?
Select Yes or No according to your requirements
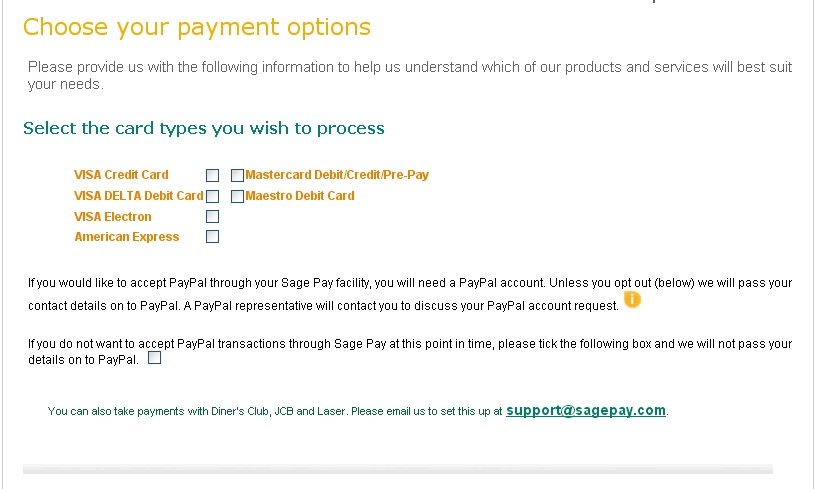
Choose your payment methods by placing a tickin the appropriate boxes.
Note: if American Express is selected additional fields will appear that require populating.
Tick the boxes as applicable under ‘Additional Payment Options’
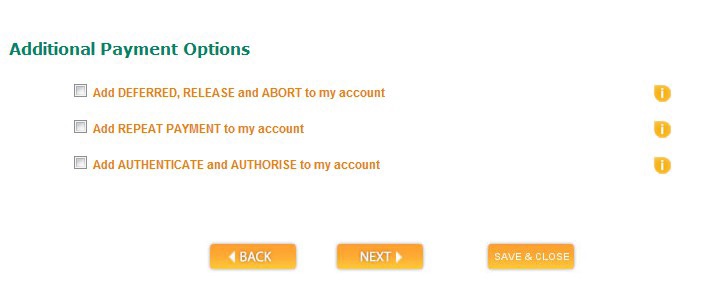
Click ‘Next’
![]()
Select how many transactions you will be processing per quarter.
Note: Sagepay requests the details of the server environment when registering for an account on this page. Select ‘Server & inFrame integration’ and then enter the server IP addresses as per the step below.
Note: Should you also be required to select type of Shopping Cart then choose ‘Other’. (If you applied for a SagePay account via Intelligent Retail’s web page link , then this option will not appear, as it is setup as default)
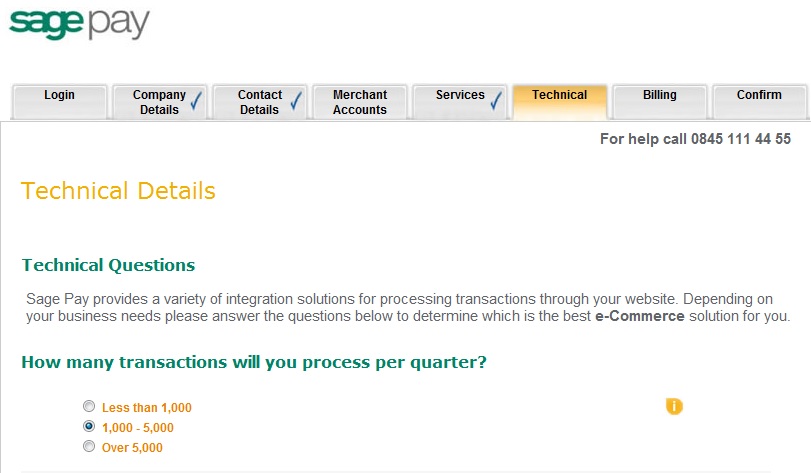
Click ‘Next’
![]()
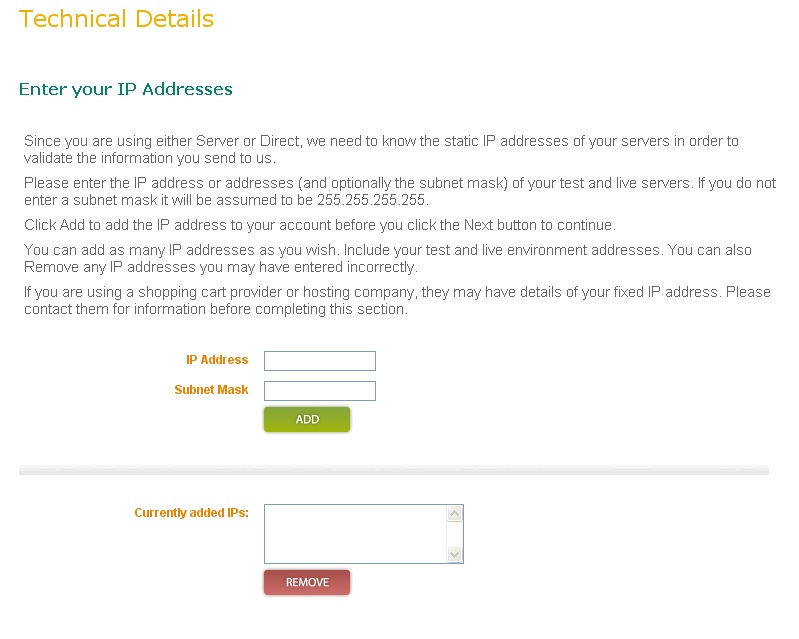
Enter in the new IP Addresses and Subnet Masks, clicking ‘Add’ each time.
IP: 094.236.096.076
Subnet Mask: 255.255.255.000
IP: 094.236.066.122
Subnet Mask: 255.255.255.000
In order to complete your application you need to set up a Direct Debit Instruction.
Enter in your Direct Debit details.
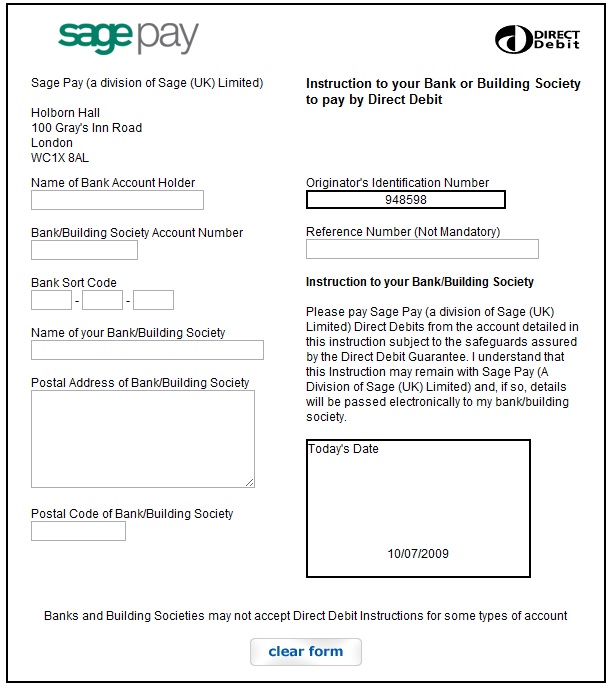
Click ‘Next’
![]()
The Application Summary page is displayed.
Scroll down the page to confirm all your details.
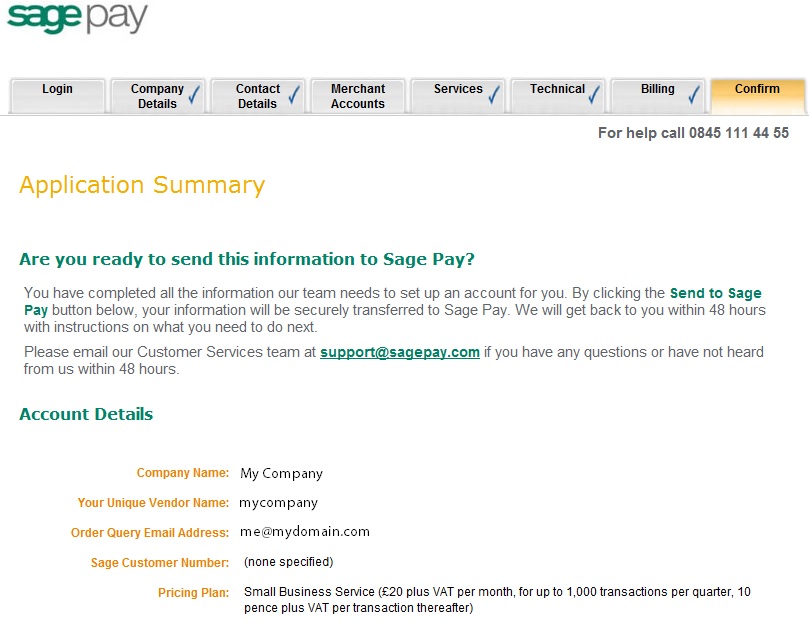
Click ‘Send to Sage Pay’
![]()
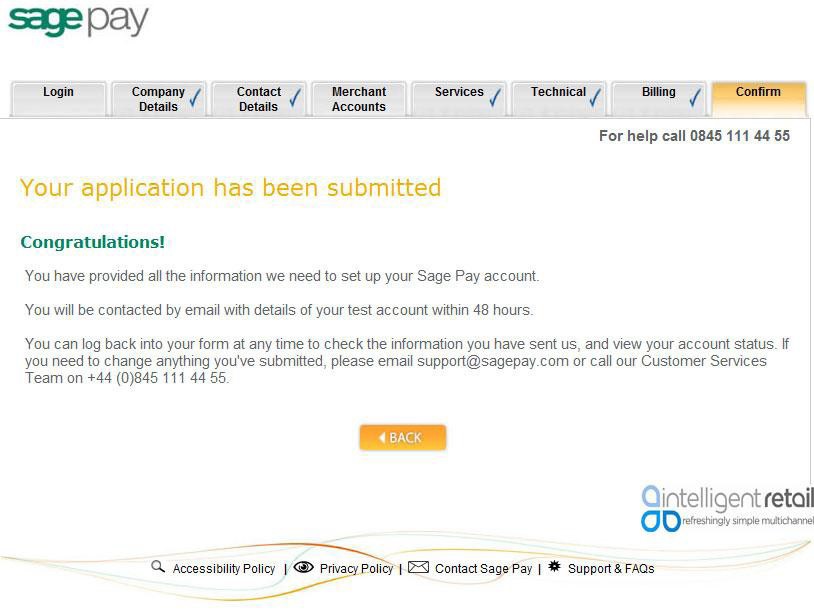
Congratulations!
You will be sent an email from Sage Pay with details of your Direct Debit soon after your application has been submitted.
An email regarding your Sage Pay test account will arrive within 24 hours and an email regarding your LIVE account will arrive within 48 hours.
IMPORTANT:
Please action all emails received from Sage Pay directly to complete the account setup ready for your website integration.
Should you require any further assistance please call the SagePay helpline directly on 0845 111 44 66 or alternatively Intelligent Retail support team on 0845 680 0127.
[su_divider]