
Intelligent Retail can set up an email marketing account for you, FREE of charge.
From your online account you can create, edit and report on the campaigns you have written. More info can be found in our document ‘Connect email marketing user guide’.
Some of the benefits from using our email marketing campaigns are;
Tracking and Reporting. Our simple reports make it easy to check out the numbers that matter.
Subscription Management. Adding and removing subscribers takes seconds and all the nasty stuff like bounces and unsubscribe requests are handled automatically.
Improving Delivery. The delivery servers have been white listed by many of the larger ISP’s. These arrangements ensure the best chance of emails being delivered and also allow the hosts to keep any sender not following best practice off the servers.
Unsubscribe Links in Every Email. Any email template you import for your clients must contain a single-click unsubscribe link allowing any subscribers to remove themselves quickly and easily.
[su_divider]
Exporting your Contacts from Outlook Express
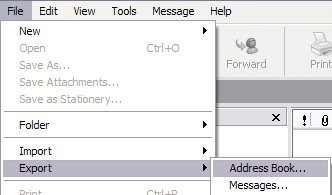
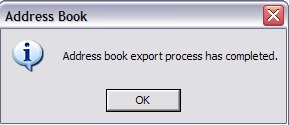
From the Outlook Express main menu, select File > Export > Address Book. This will take you to the Address Book Export Wizard.
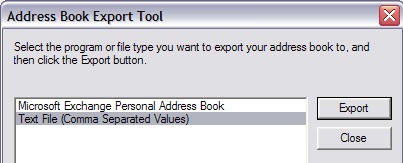
Select Text File (Comma Separated Values) and then click Export.
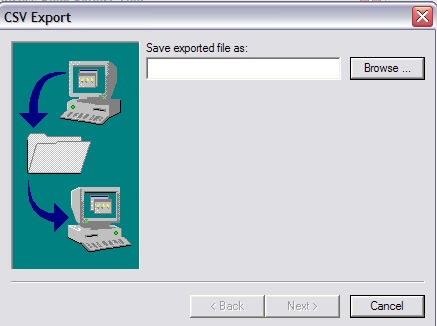
Click Browse to locate the directory where you want to place the exported file. For file name, type in a file name of your choice and add CSV at the end (ex: mycontactlist.csv). The Save As type: pull-down menu should display Comma Separated Values (*.csv). Then click Save and Next.
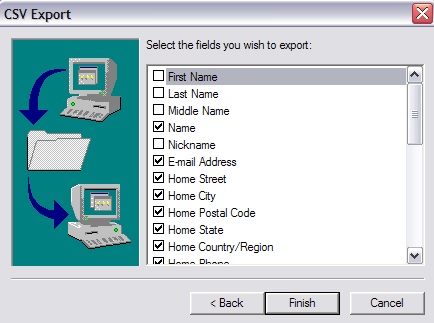
In the Select the fields you wish to export section, you can select whichever fields you want to import into your account. You will have the option to rename these column headings later. Click Finish. The new CSV file should now be in the location that you indicated.
Your file is now ready to import.
[su_divider]
Exporting your Contacts from Connect Customer Database.
From the Back Office in Connect. Open your Customer Database.

Filter your customers by selecting the ‘Marketing Opt-in’ drop down menu at the top of the window.
![]()
Using the mouse, right-click in the area where the customer addresses are listed.
A menu will appear.
Click on ‘Select All’. Once you have selected this option all the customer details will be highlighted.
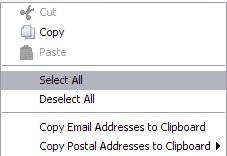
Using the mouse, right-click in the highlighted area.
A menu will appear.
Select the option ‘Copy’.

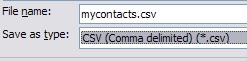
Open up your spreadsheet software, for instance, Excel. If you use Open Office, this application will be named Calc.

Paste the copied data into your spreadsheet.
Delete all the columns leaving Name and Email address.
![]()
Save As a .csv file.
[su_divider]
Import your Contacts to your Email Marketing Account
Login to your email marketing account. Click on the tab title ‘Manage Subscribers’.
![]()
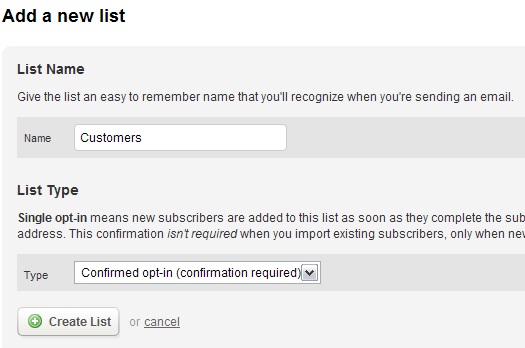
Click on the link ‘ Add a new list’.
![]()
Name the subscribers list appropriately and select the list type as ‘Confirmed Opt-In’ (Confirmation Required).
Select ‘Create List’.
You can add one subscriber at a time, more than one or import from a file.
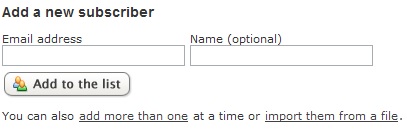
Select the link that says ‘import them from a file’.
![]()
Select your .csv file using the ‘Browse’ button.
![]()
Click ‘Import Subscribers’.
![]()
Match the file with your subscriber list fields by selecting the field that corresponds to the column in your spreadsheet, if you leave a field blank it will be skipped. Click the ‘Next’ button when you’re done.
If there were any problems with your import these are listed on the next page, you can fix these errors or ignore them.

If you can’t fix an email address or don’t want to add it, uncheck the corresponding ‘Include’ checkbox. Click the ‘Next’ button when you’re done.
Fix the bad email addresses.
You can then click ‘Next’ and a message will be displayed to let you know you have imported your contacts successfully.
![]()
[su_divider]
Creating a Campaign
Select the tab titled ‘Create/Send’.
![]()
Click the link to take you to ‘Create a new campaign’.
![]()
Enter in the name of the campaign, the subject and who it is being sent by.
Click ‘Next’.
Select the template you would like to use. Click ‘Add my Content’.
![]()
Click on the pencil next to the text you’d like to edit.

You can add in additional areas of text and images by clicking the ‘Add a new item’ button.
![]()
To add an image, click on the link ‘Insert an image’.
![]()
Once you have entered in all the detail you’d like to include in your campaign, click ‘Preview email’ to see what your customers will receive.
![]()
You can decide to go back and make more changes or to select the recipients of your newsletter.
![]()
![]()
Select the recipients by ticking the boxes and click ‘Next’.
![]()
The campaign snapshot shows all your campaign preferences and you can edit any of them here. Once you are satisfied with your settings click on ‘Preview and define delivery’.
![]()
It’s always a good idea to send yourself a test before you deliver the real thing, you can send as many test emails as you like.
You can also ‘Skip the test email’.
![]()
![]()
Schedule the delivery of your campaign by selecting whether it is delivered immediately or for a specific date and time.

The campaign will then be scheduled to be sent.
[su_divider]
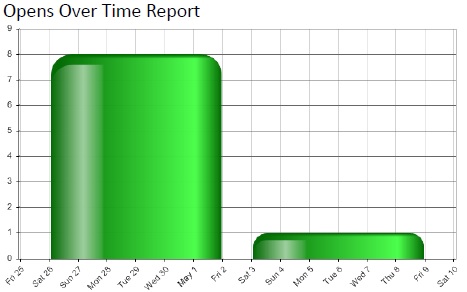
Reporting on Campaigns
Click on the tab titled ‘Reports’.
![]()
The Campaign snapshot shows how many of your recipients have opened, clicked or unsubscribed from your newsletter.
If any of your recipients have clicked the unsubscribe link in the newsletter they will be added to a suppression list and will not be mailed again.
For further assistance or to book a training session with your email marketing campaigns, please contact Intelligent Retail on 0845 680 0127.
[su_divider]