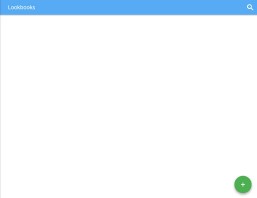
| 1 | In the Content Editor, go to the tab that says Lookbooks on the left hand side. Once there, click on the + icon to create a new Lookbook.
|
 |
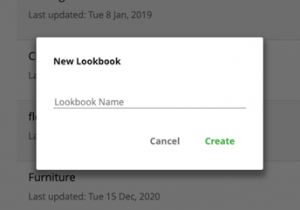
| 2 | Type the name of your new lookbook in the pop up that appears.
|
 |
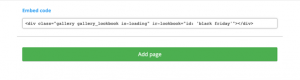
| 3 |
Click on Add page to create a new page on the lookbook. The code in the Embed code section is what you will copy to the HTML. You will need to copy the code into the page that you would like the lookbook to show on. |
 |
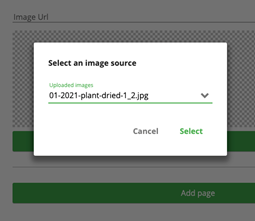
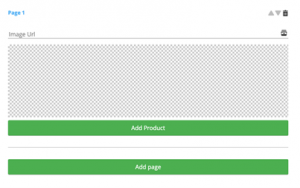
| 4 | Add the image that you would like to use for the lookbook into the images tab. Click on the icon next to the Image URL input text to select the image that you would like to use.
|
|
| 5 |
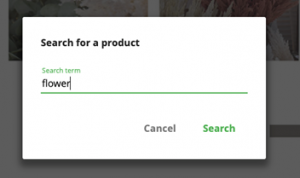
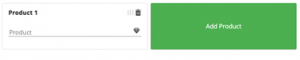
To add a product, click on the ‘Add product’ button underneath the image and click on the Product input, it should show a pop up where you can search for and select any product from your website.
|
|
| 6 |
Once you’ve selected your product, a square should show up in your image, which you can resize. This is the area that customers can click on to see the product within the lookbook.
|
 |
| 7 | Continue to add products to the lookbook by repeating steps 5 & 6. Make sure that you save your changes once finished to make the lookbook live on your website. |