
This help-sheet will guide you through the configuration changes and documentation required to invoice business customers. The invoice documentation will show the VAT rate line by line with the VAT amount due also shown in the document totals.
Configuration Settings
These settings will allow the VAT rates to show line by line on the invoice documentation.
From the back office open ‘Tools’, then ‘Configure’.
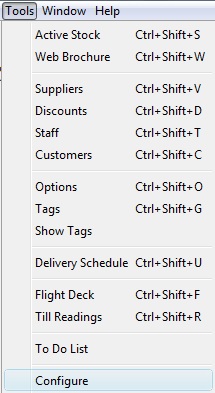
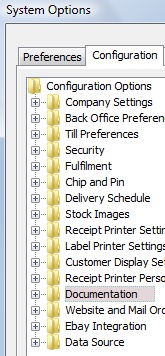
Click on the ‘Configuration’ tab and open the ‘Documentation’ folder.
Select ‘Show Line Amounts Net Of VAT’ and ensure that the setting to the right hand side of the window is set to ‘Y’.
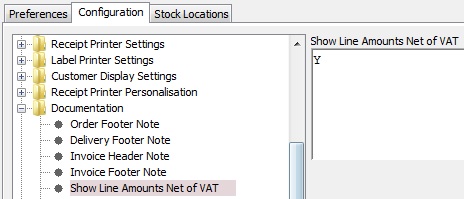
Click ‘OK’.
![]()
Restart the Connect software.
[su_divider]
Creating a Tag Set
This will allow you to tag business customers so that when you come to invoicing you only see the relevant records.
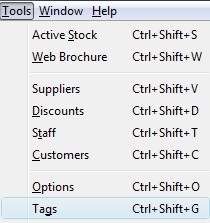
From the back office open ‘Tools’, then ‘Tags’.
Click the ‘New’ icon.
![]()
Name the Tag Set ‘Invoicing’.

Click ‘Save’.
![]()
Click ‘New’.
![]()
Create a tag named ‘B2B’ for your business customers.
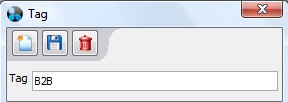
Click ‘Save’.
![]()
Close the Tag windows.
![]()
[su_divider]
Tagging Customer Records
Open the ‘Customer’ database.

Select the records you wish to mark as business customer (B2B) records.
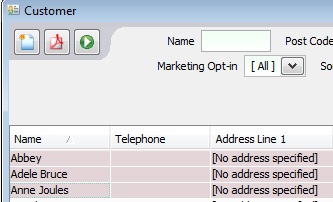
Place a tick in the appropriate Tag.

[su_divider]
Invoicing Business Customers
From the back office open the Customer Database.

Click on [No Tag Filter Selected].
![]()
Place a tick in the ‘B2B’ Tag for Customer Filter window.
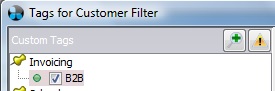
Click ‘Apply’.
![]()
The Customer database will filter to show all records that are tagged as B2B.
[No Tag Filter Selected] changes to ‘Invoicing: B2B’.
![]()
Click on the ‘Reports’ button.
![]()
Select the ‘Customer Account Invoices with VAT Detail – Unpaid Only’ report.
Select a ‘date range’ (if you are invoicing on a weekly basis ensure the dates do not overlap week by week).
Select a ‘Sort Order’.
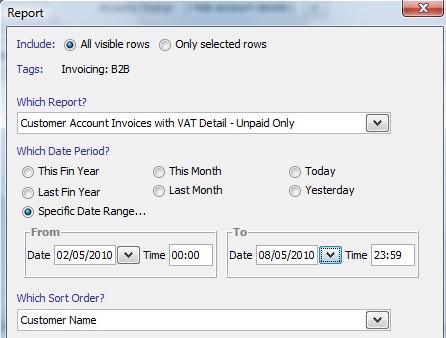
Click ‘Report’.
![]()
[su_divider]
Creating Statements For Business Customers
Please note: ‘Customer Account Statement’ can also be used to send out to business customers to chase for outstanding payments.
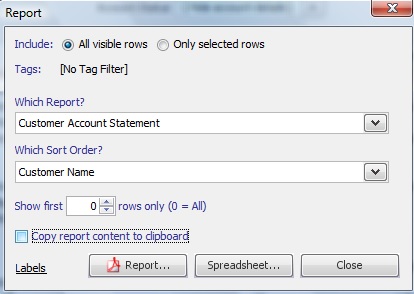
Click ‘Report’.
![]()
[su_divider]