
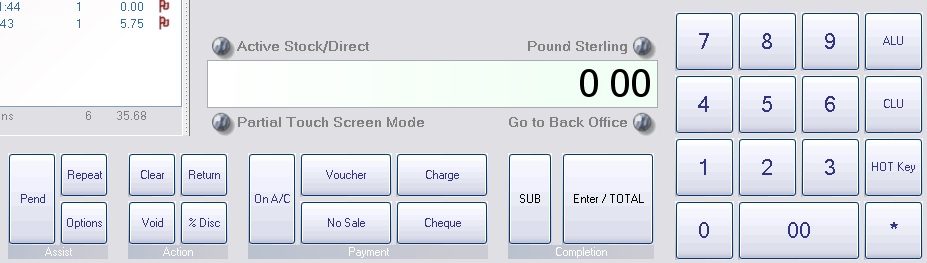
Your Choice Of View
The Connect Platform gives you the choice of two types of till layout. This document describes how to change the layout of the till.
FROM Layout 1:
TO Layout 2:

There are no significant differences in functionality, but we feel that this gives a more modern look to the till and gives symbols on buttons instead of words.
Changing layout
In Back Office, click on “Tools” in the Windows Menu Bar at the top of the window. Choose “Configure” from the drop down list.
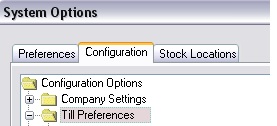
The Systems Options window will appear.
Click on the “Configuration” tab.
![]()
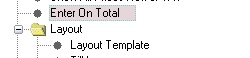
Click on and expand the “Till Preferences” group.
Click on “Enter on Total”, change the Y in the right hand window to a N.
Click on and expand the group “Layout”. Click on “Layout Template” and change the 1 in the right hand window to a 3.
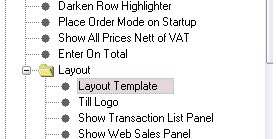
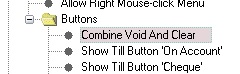
Click on and expand the group “Buttons”.
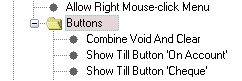
Click on “Combine Void and Clear”, change the N in the right hand window to a Y.
Click the “OK” button.
![]()
[su_divider]