
This document will guide you through setting up your Amazon channel within the Connect Multichannel Centre.
Accessing the Multichannel Centre
From the Back Office click on the ‘Channel Centre’.

The Channel Centre will open to display the ‘Web Shop’ tab and any categories found within the section.
![]()
[su_divider]
Adding an Amazon Channel
To add an Amazon channel to the Multichannel Centre click ‘File’ and then ‘Open’ from the Back Office.
Select Amazon from the list. Connect will create a new Tree for the channel.
Click ‘Open’
![]()
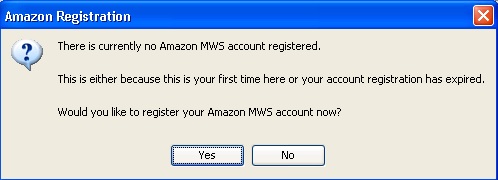
If the Amazon account has not been registered a message will be displayed.
Click ‘Yes’
Confirm that you wish to continue to the Amazon sign in page to login or register the Amazon account.
Click ‘Yes’
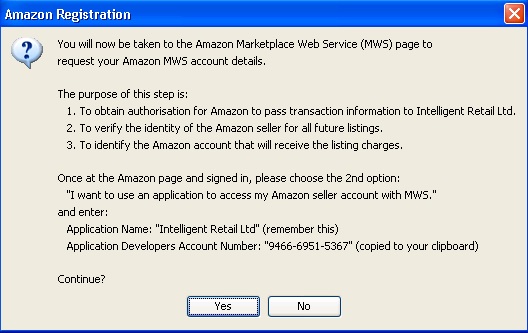
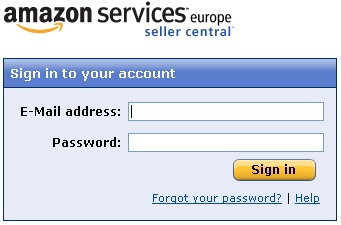
Sign in to your Amazon account.
Select ‘I want to use an application to access my Amazon seller account with MWS.’
Application name is ‘Intelligent Retail Ltd’
Account Number is ‘9466-6951-5367’
Click ‘Next’
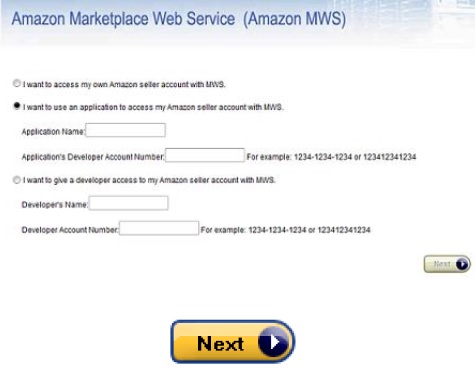
Tick the check boxes to agree to the Amazon MWS Licence Agreement.
Click ‘Next’
![]()
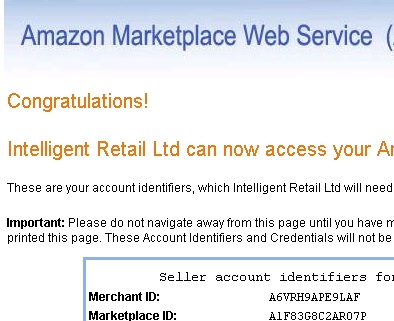
A message will be displayed providing you with your account identifiers.
Make a note of your Merchant ID and your Marketplace ID, you will need it in the next step!
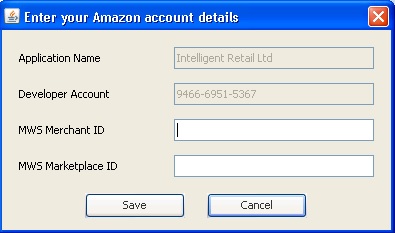
Enter your Amazon account details into the screen shown in Connect.
Click ‘Save’
The Amazon selling channel is added to the Multichannel Centre.
The Amazon ‘a’ logo will be added next time you restart Connect.

[su_divider]
Stock Fulfilment
Fulfilment is the process of Pick Pack and Dispatching your Amazon orders.
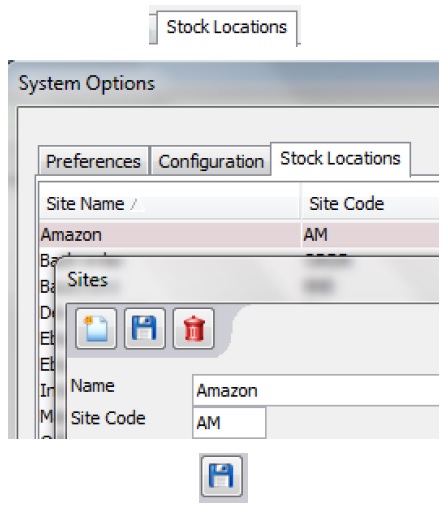
To set up stock fulfilment Open ‘Tools’, ‘Configure’ and click on the ‘Stock Locations’ tab.
Double click ‘Amazon’ to select fulfilment sites for the Amazon channel.
Click ‘Save’.
When stock is down to zero, the product will no longer be for sale in the Amazon Marketplace, although the product will still exist in your seller central account. As soon as the stock is available again, the product will become actively for sale again.
By default, all of your stock locations will be setup as primary fulfilment centres for the Amazon channel. This is the most common setup and if suitable, you do not need to change anything.
[su_divider]
Adding Products to the Amazon Tree
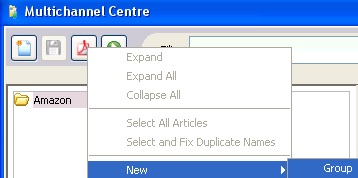
Right click the Amazon category in the Amazon tree.
Click ‘New’ and then ‘Group’.
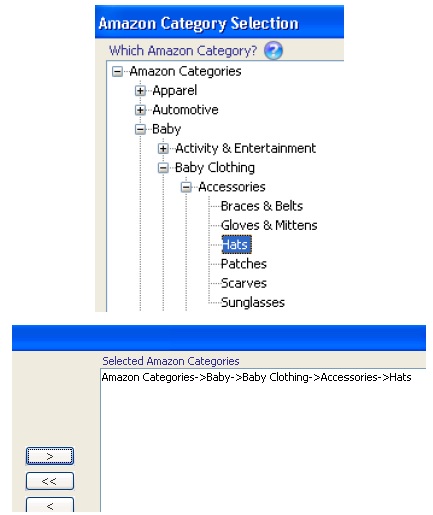
Select the Amazon categories you wish your articles to appear in. Select the lowest level of category for the article you wish to list.
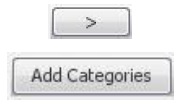
Use the ‘>’ to select the categories you wish to add to the Amazon tree.
(Use ‘<’ or ‘<<’ to remove the selected categories)
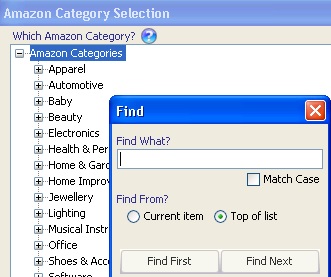
To find further categories, right-click the Amazon category menu and then click ‘Find…’
Select the categories to add to the Amazon tree. You can highlight more then one category by using ‘Ctrl’ and selecting the category with the mouse.
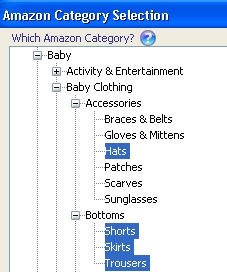
Click the arrow to add the categories to the list.
Once the list is fully populated click ‘Add Categories’. They will then be added to the Connect Amazon Tree.
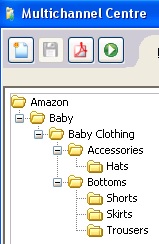
The Amazon categories are then added to the Amazon tree.
Now ‘Save’ the changes to the Amazon tree.
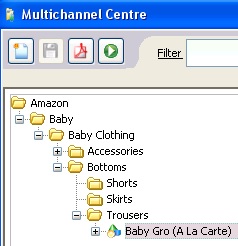
Drag articles from the Stock Tree into the Multichannel Centre and drop them into the correct Amazon categories.
Notes:
a) Options like colour / size are supported and are shown in a drop down menu as ‘variations’ of the product.
b) Where stock falls to zero they are removed from the Amazon listing.
c) To end the listing on Amazon for one or a selection of items simply delete them from the channel tab. When the synchronisation has occurred the items will be ended.
The article information pane shows information about your item.
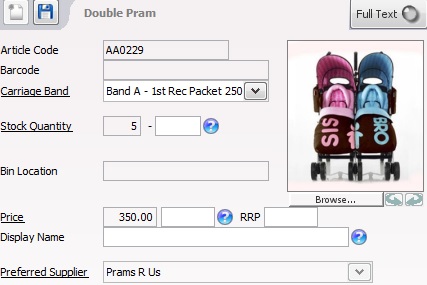
The lower area of the article information pane is made up of tabs containing product information specific to the Amazon channel.
IMPORTANT information about selling on Amazon: When you sell items on Amazon, they will simply try to MATCH your item to one sold on Amazon already (they do this by checking the EAN code and product details).
If it does MATCH the item, Amazon will list you as another seller of the item they already have. It will probably use very little, if any, of your item information.
If it does not MATCH an existing item, Amazon may create a new item based on your information and this would require review by the relevant Category Manager in Amazon. It is important to understand that this is a manual process and can take days or weeks, or longer to complete.
Note: Connect will dynamically populate this part of the screen with information Amazon is requesting. The third tab will change depending on the category that articles have been placed in and other Tabs may appear.
![]()
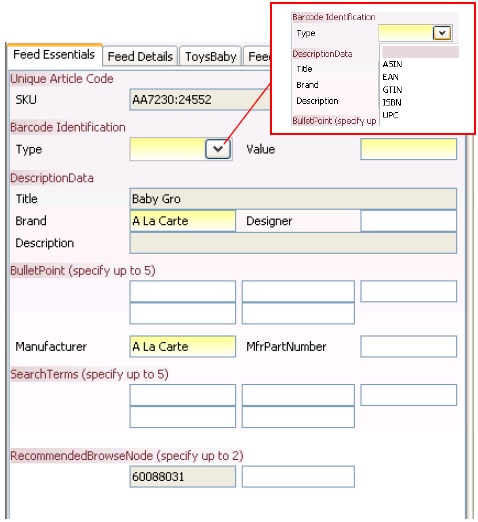
The ‘Feed Essential’ tab contains the following
Fields and consists of several headings.
Note: Amazon maintains a large number of possible attributes per product which varies per category. Connect simplifies filling in this information, by highlighting in yellow the mandatory fields that should be filled in to get your product listed.
The most important fields may vary depending upon the product classification, product type and sub types used.
Connect uses its purpose-built intelligent Amazon XSD rendering engine. This is a unique feature that automatically builds the forms containing all available Amazon attributes depending upon the product classification, product types and sub types used. This means if Amazon make small changes to their attributes IR can roll out the new Amazon XSD file to our customers.
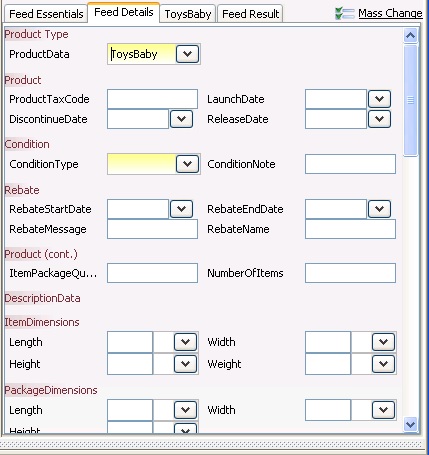
The ‘Feed Details’ tab contains the following fields and consists of several headings.
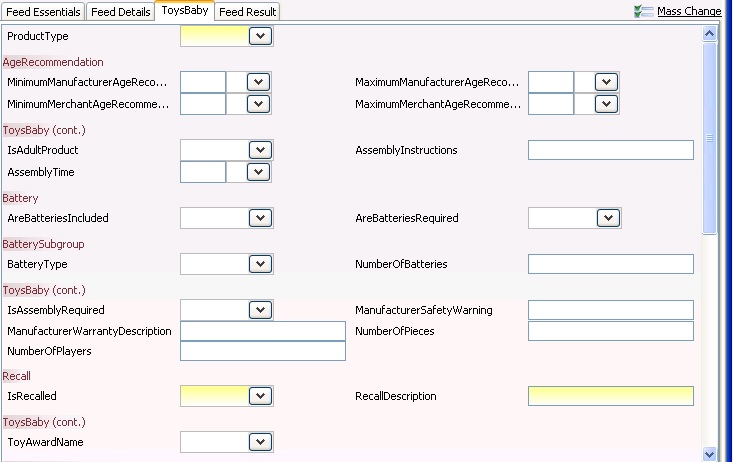
The ‘Category’ tab contains the following fields and consists of several headings.
Any fields highlighted yellow are mandatory fields.
Click ‘Save’.
The ‘Mass Change’ link may be clicked to set default templates for all new article listings.
A template can be set for specific batches of stock going onto Amazon or for individual articles.
You can overwrite all products in the Amazon store channel tab by changing the default template and hitting ‘Apply to all’.
![]()
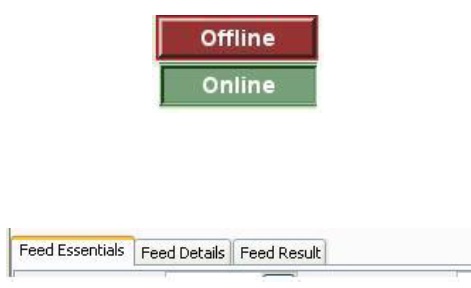
If the Status button in the top right of the screen says ‘Offline’ change it to ‘Online’.
Connect will now send your products up to Amazon!
The ‘Feed Result’ tab confirms that the listing has been added to Amazon and if it was successful shows the item number and status. Any feed errors returned by Amazon will be shown clearly in red.
If you are waiting for the ‘Feed Result’ to update, you should click away from the product (by selecting a different item) and back again to refresh the page.
The duration of time it takes to update your Feed Result depends on Amazon it might take a minute or two or may take an hour.
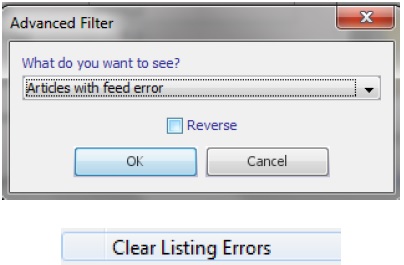
To view articles with a feed error, use the advanced filter by clicking on Filter at the top of the window then select ‘Show articles with a feed error. Click ‘OK’.
Once filtered, review the messages returned by Amazon. Please note these are the same messages as you would receive when listing directly with Amazon through Seller Central, so any clarification of the message can be obtained via Amazon Seller Central support. Once the feed errors have been corrected, you can right-click on the product then select ‘Clear listing errors’ to queue the product for the next feed cycle. You can alternatively choose to right-click on any folder to clear the listing status for multiple products at once.
Note: An example of a typical listing error is where you may have missed mandatory information, or specifically for Amazon, where the product already exists on Amazon and some of your product information is different so causes a conflict. In this instance, the first merchant to list a product takes precedence and you would need to match the existing product or raise a category dispute with Amazon. ASINs provided by Amazon in response to feed errors must be checked on Amazon to ensure that the ASIN being recorded is the correct ASIN for the product that the retailer wishes to list.
[su_divider]
How stock levels are managed by Connect
This explains how Connect will manage your stock levels across all channels when you sell an item on Amazon.
As soon as your Amazon orders start arriving at the till, Connect will allocate the stock based on the fulfilment rules defined in your Stock Locations tab (described earlier in this document). This automatic allocation of stock is important as it means all of your other selling channels are then notified of the new stock level as soon as possible, even if the sale is made in the middle of the night when your business is unmanned! For this reason you may consider leaving on the computer that performs the channel synchronisation overnight, though ensure this is in an appropriately safe and secure environment.
For example, you have 5 mens shirts available through your website, eBay and Amazon. If you sell 1 on Amazon, Connect will then update the available stock levels on all your channels to 4.
This 1 shirt has been ‘allocated’ to the eBay sale. Once you have pick, pack and dispatched it, then your physical stock levels will be reduced by 1.
Note: Consider using the Mass Fulfilment Centre as a convenient way to fulfil your orders centrally across all of your channels at once.
[su_divider]
Branding your Amazon store differently to your main business
Some retailers want to have a different logo on their Amazon store and on their Amazon documentation (invoices). For example you might want to call your Amazon store your ‘Amazon Outlet’.
You can do this by setting the ‘Selling Brand’. Selling brands can be set up and enabled to allow different logos to be printed on documentation. This enables selling on differently branded selling channels.
Please see the help-sheet on Setting Selling Brands.
[su_divider]