
Here is a step-by-step guide for adding a post to your integrated blog.
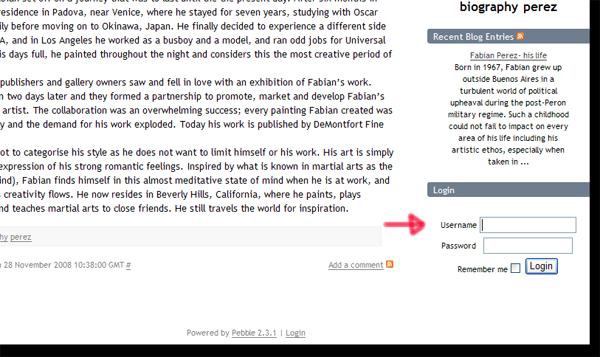
Firstly, go to your blog URL (www.yourdomain.co.uk/blog)
In the bottom right-hand side, there will be a section to login. Type in your username and password which should have been supplied to you:
Once you have been logged in, you will notice a new bar at the top of the page, which states that you are logged in.
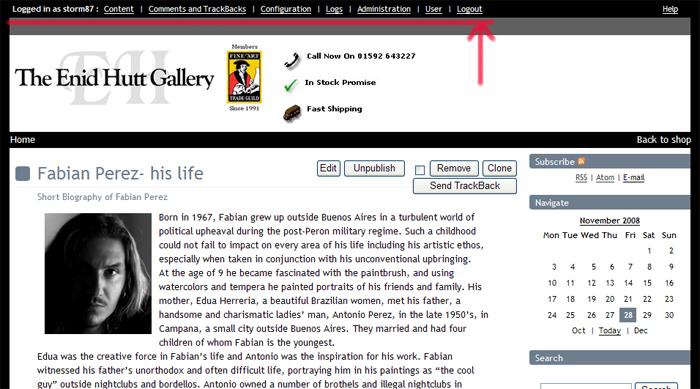
When you roll over the links in this top bar, you will see more links appear just underneath.
The first thing we will do is add a new blog post. Roll over the first link which says ‘Content’, and click on ‘New blog entry’:
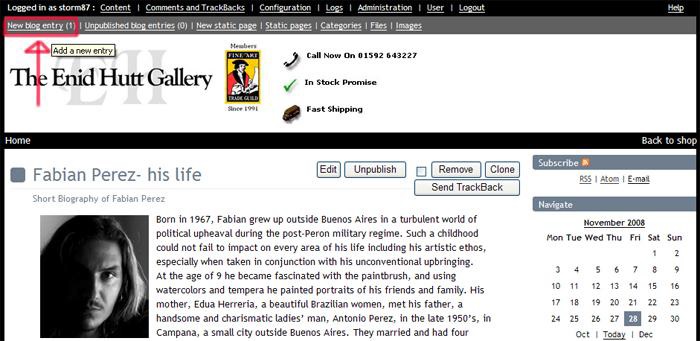
When you click on the link, you will get a screen which shows this:
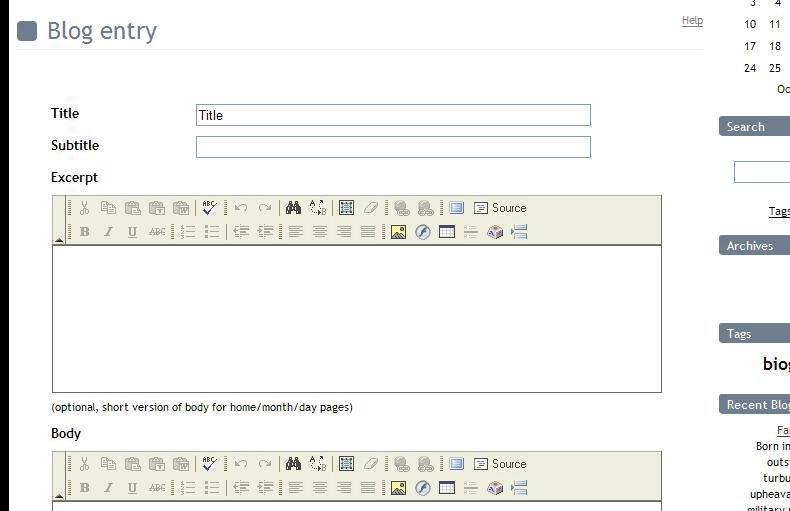
This is where you create the blog post.
1. In the field ‘title’, add a blog title which is descriptive, and possibly containing a keyword or two from your SEO campaign.
2. Ideally, also add a ‘subtitle’, but this is up to you.
3. In the ‘excerpt’ field, you should type a paragraph of text which introduces the user to the blog post. This will appear on the blog home page, and avoids duplicate content.
4. In the ‘body’ field, type out your blog post. Another way to do this is to have the blog post already written out in Notepad, as this decreases the risk of you accidently losing what you have written. (for example, your web browser might suddenly decide to crash just after you’ve written a really long post). DO NOT USE MICROSOFT WORD TO DRAFT YOUR POST. When you paste the entry into the blog post field, it will transfer bad HTML code with it, which may reduce how well you do in Google. Always paste from Notepad.
5. Underneath this, there will be 9 other fields such as ‘Original permalink’, ‘Tags’ and ‘Time zone’. The only field you need to worry about here is the ‘tags’ field. Here you should add one word keyphrases which describe your blog post. 3 to 5 keywords will be just fine. If you want to use keyphrases that have more than one word, the best thing to do is join the words together with hyperlinks e.g. kit-heath-jewellery.
6. You can play around with the other fields if you like, such as add an attachment, but generally just leave these as they are.
To show you an example, I’m going to add a post about the artist Doug Hyde and his artwork.

Scroll down to the bottom of the page and click ‘preview’ if you want to see what your blog entry will look like. Otherwise, click ‘save’.
Now your entry is saved within the blog, but not actually visible to the public.
To the top right of the saved post, you will see a set of actions you can do with the post:
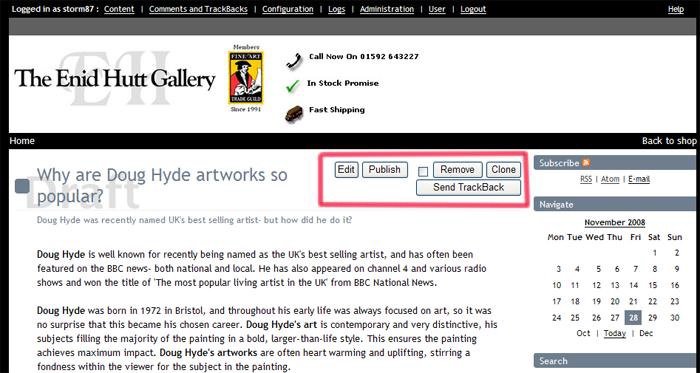
Clicking on ‘edit’ will take you back to the previous page where you can make any changes you like to the post.
Clicking on ‘remove’ will delete your post from the blog completely.
What we want to do however, is publish the post so that the public can see it.
So, click on ‘publish’.
You will then be given a choice of three date/time settings which will be visible to the public. I tend to keep it as the default (as-is):
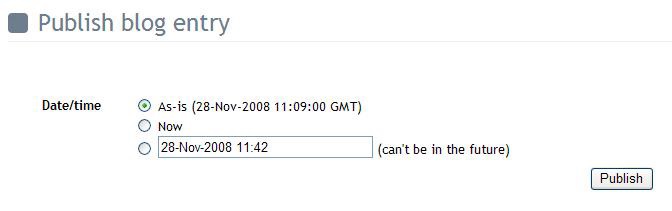
Then click on ‘publish’. Your post is now visible to everyone.
To view the blog in its entirety, click on ‘home’ in the top left.
But what if you want to add an image to your blog post, or make any other change?
Well, even though you have published the entry, you can still edit it. Simply find your blog post you want to change and click ‘edit’. Make the changes, and then click ‘save’ at the bottom. The entry will be updated, but you won’t need to re-publish. The edited post will be updated as visible to the public.
[su_divider]
Now I’m going to show you how to add a picture to the blog.
Here, you have a choice when adding pictures to the post.
1. You can link to other images already on the website (the website being www.yourdomain.co.uk)
2. OR- You can create images just how you want, using image editing software, and upload them to the blog.
I would always recommend option 2, because you have complete control over how it appears, and it also future-proofs the appearance if images files get overwritten on your website (or wherever else you link to) So, as per option 2, if you want to create images yourself and upload them, this is how to do it:
At the top bar, roll over the link ‘Content’, and click on ‘Images’ which is the last link that is shown.
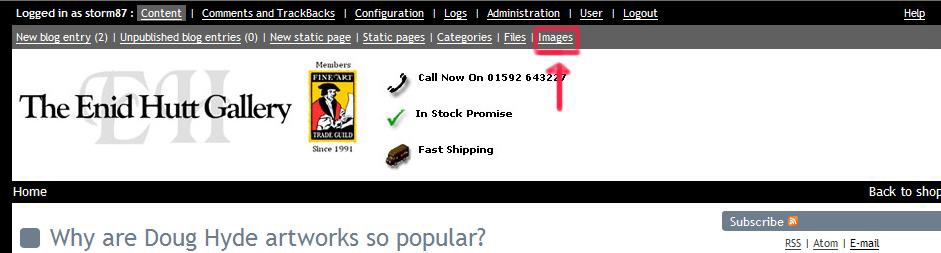
Once you click on ‘images’, you will be presented with the following screen:
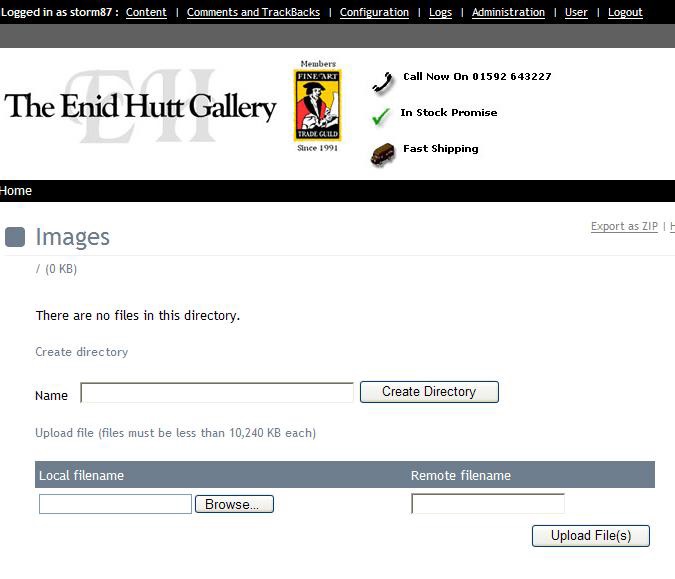
Click on ‘browse’, and navigate to wherever you have saved the image on your computer. Select the image and click ‘open’.
Please note if you are using Firefox: Once you’ve clicked ‘open’, the first letter of the filename will be missing on the ‘remote filename’ box, so you’ll need to add it back in.
Then click ‘upload file(s)’. (you can upload more than 1 at a time).
Your screen will then look something like this:
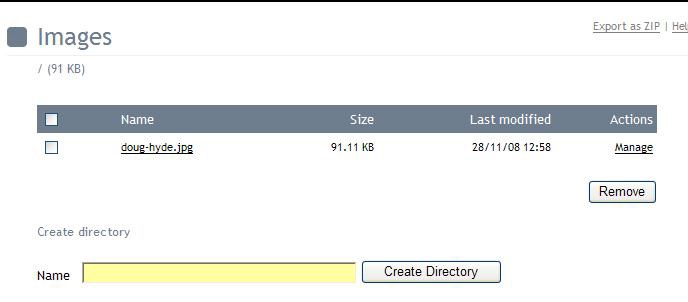
Now your image is stored in the ‘images’ folder, we can edit the blog post to include the image.
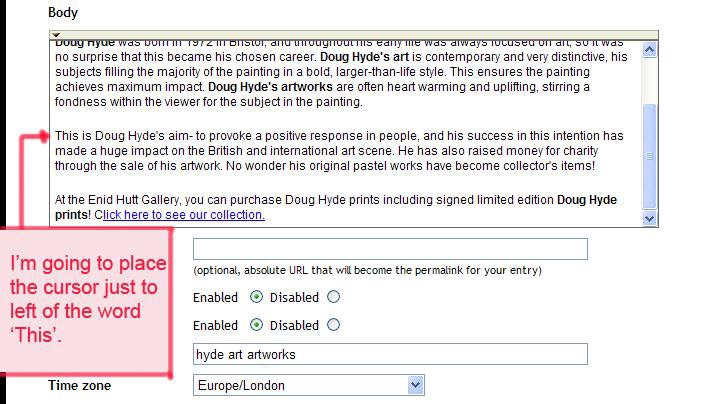
Find the blog post and click ‘edit’. Scroll down to the ‘body’ field, which contains all the text of your blog entry. Place your mouse cursor to the left of the text wherever you want the image to appear.
For example, I want to add an image that will appear in the bottom-right of the blog post. I will place the mouse text cursor about so:
Once you have positioned the cursor wherever you want the image to appear, click on the ‘image’ icon like so:
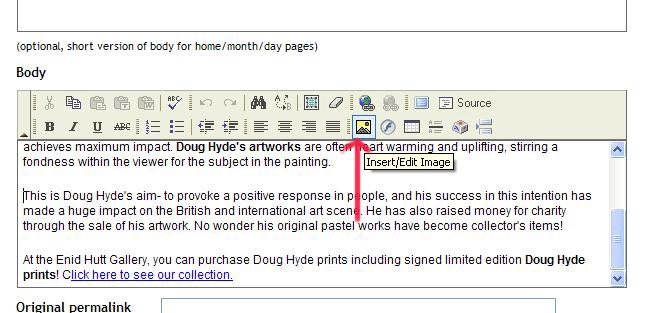
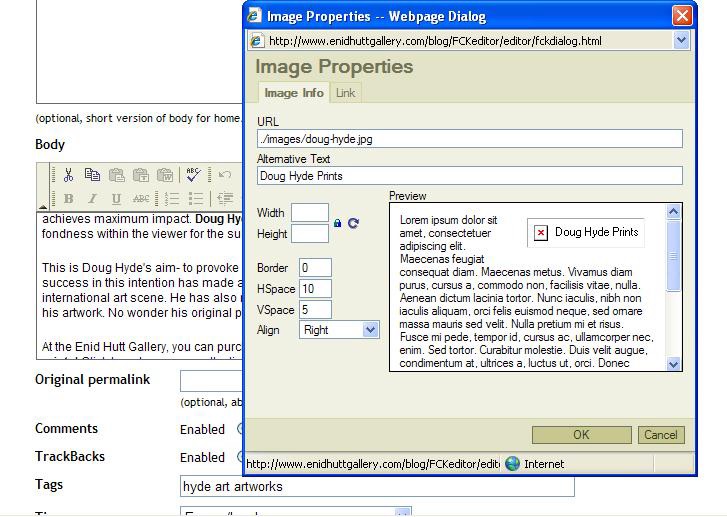
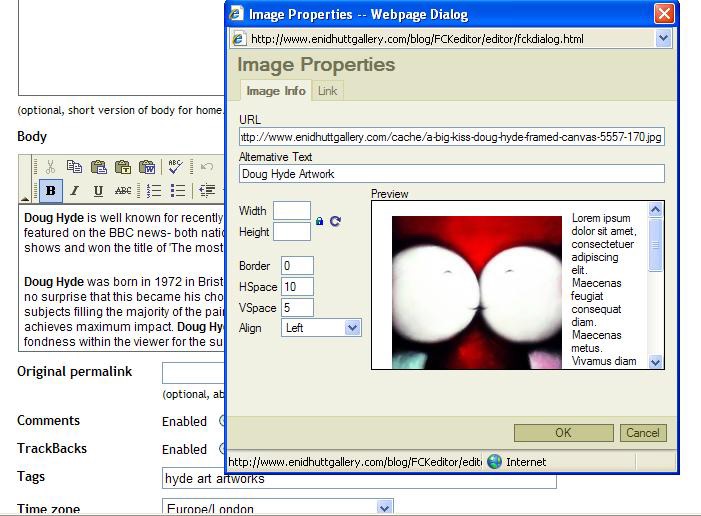
Once you click on this icon, the following popup will come up:
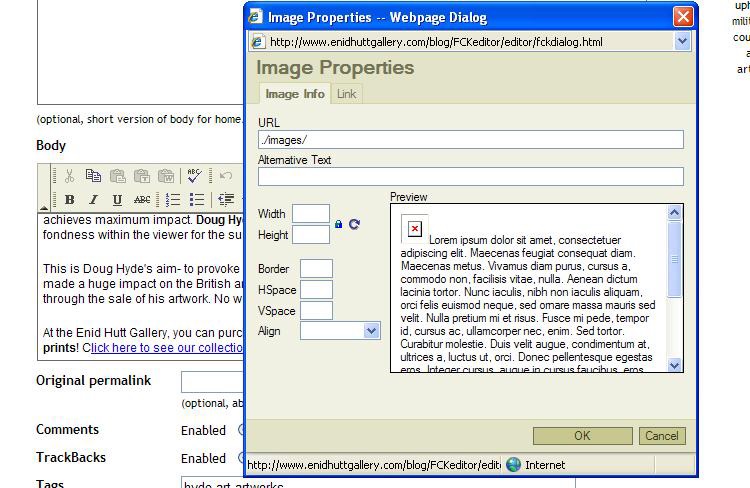
In the ‘URL’ field, the following text is already inserted for you: ./images/
This is basically pointing to the images folder so that all you need to is type the file name you created when you added the image initially.
For example, I added an image called ‘doug-hyde.jpg’. So the URL field will read:
./images/doug-hyde.jpg
Add some alternative text, but try to be fairly descriptive about what the image actually is.
Don’t worry about the ‘width’ and ‘height’ fields, because you should have made the right image dimensions when you created the image. Set the border to ‘0’
Set the HSpace to ‘10’
Set the VSpace to ‘5’
Setting the Vspace and Hspace ensures the text doesn’t end up too close to the edge of the image.
Then, use the ‘align’ drop-down menu at the bottom to select how you want the image to appear. You should experiment with this so you can get it how you want, but generally you’ll probably be using ‘left’ and ‘right’.
I’ve selected ‘right’, because I want the image to appear to the right of the post.
Please note that the image will not be visible at this point. You will only see the alternative text with a red cross next to it. Also, it won‟t be positioned in the correct place (wherever you positioned the cursor) until you click ok.
Click OK when you‟re happy. You will now see the following:
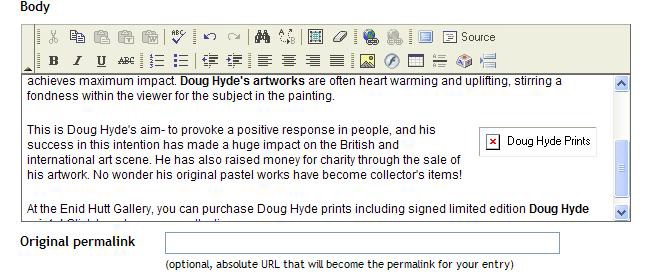
See that my image has appeared in the correct place, and alongside the text on the right-hand side. The top of the image will be aligned with wherever you placed the cursor initially.
Now click ‘save’
You will see the blog entry, with the image inserted, like so:
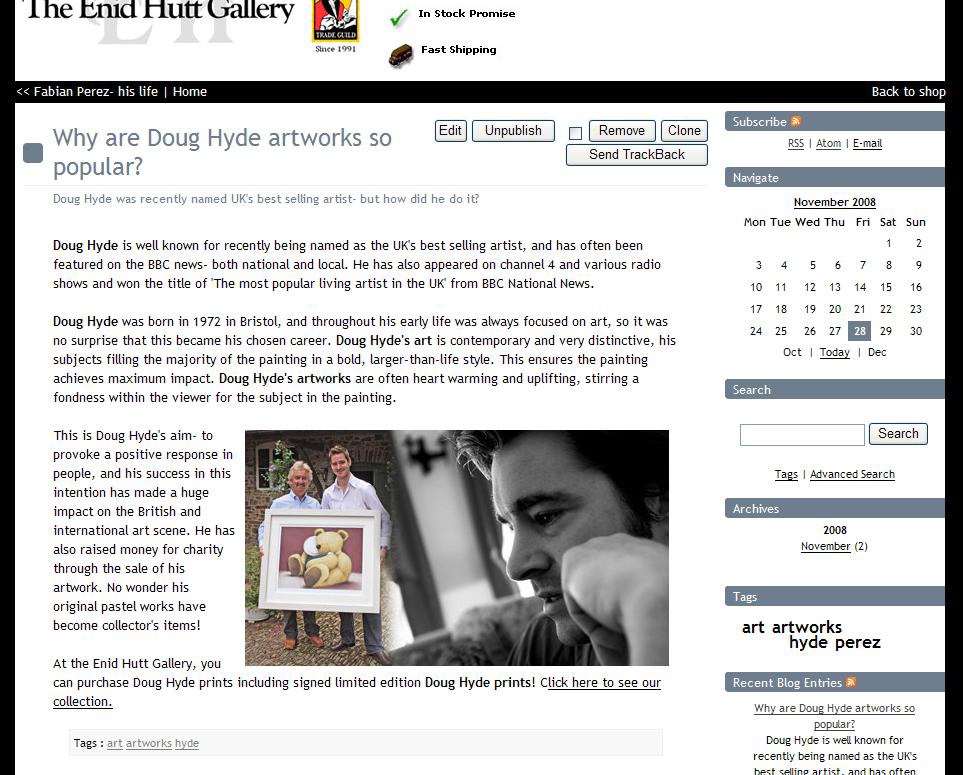
Voila! You are now able to create a blog post, complete with images you have uploaded to the blog.
But what about the other image option I mentioned?
1. You can link to other images already on the website (the website being www.yourdomain.co.uk)
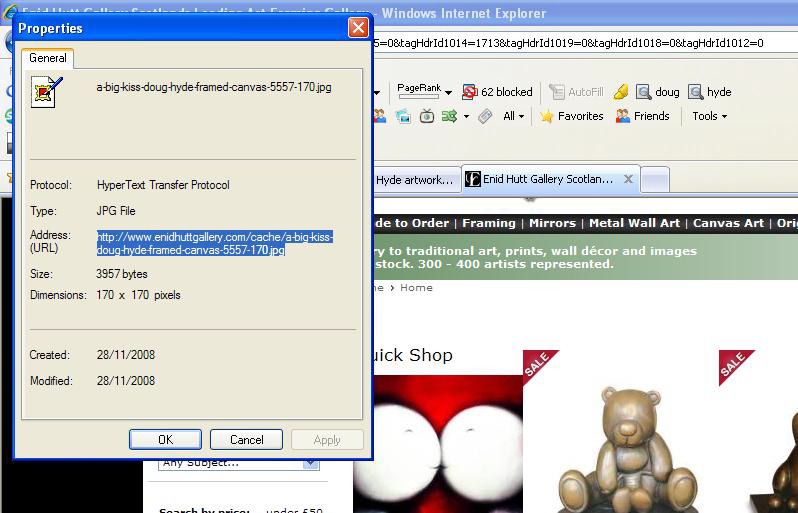
Say I’ve found the perfect image on the website and I want to use it. For example, this one:

Right-click on the image and select ‘view properties’
Then highlight and copy the URL that comes up, like so:
I’ve clicked ‘edit’ to edit the post again, and I’m going to insert the image in the top left of the post.
1. I’ve positioned the cursor right at the top of the ‘body’ field, on the left.
2. I’ve clicked the ‘image’ icon at the top of the field.
And now I have this screen:
1. In the ‘URL’ field, I’ve pasted the URL I copied earlier. (overwriting the ./images/ text that comes up as a default)
2. I’ve added alternative text
3. I’ve set the border as ‘0’, hspace as ‘10’ and vspace as ‘5’
4. And finally, I’ve set ‘align’ to ‘left’, because I want my image to appear to the left of the post.
Please note that this time, the image DOES appear, rather than the red cross we saw earlier, when using an uploaded image.
Click ok, then ‘save’ at the bottom.
Now the post looks like this:
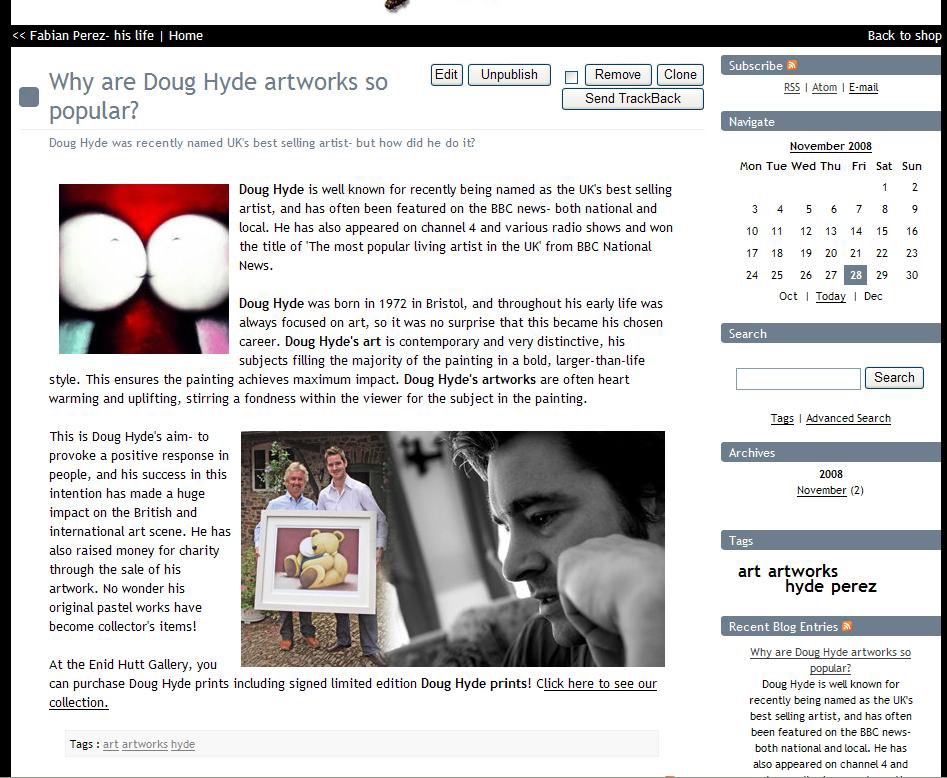
As you can see, the top image appears exactly in the place I wanted to, by aligning it ‘left’.
But, beware when linking to an image in this way. Sometimes the file size will be huge, leading to a long download time for your blog readers. Also, that image isn’t guaranteed to stay on the website under that file name forever. Looking back on your previous blog entries, you may notice empty spaces where an image should be, but it’s now been removed from the original website, or renamed.
If you need any further help with adding blog entries, then click on ‘help’ which is in the very top right-hand corner when you are logged in.
[su_divider]