
The purchase order functionality can be accessed from the Till view of Connect. With a quick change of till mode you can create a purchase order to fulfil customer orders, petty cash and suggested orders based on min/max levels and sales based history.
The Purchase Order functionality within Connect gives you the visibility of not only the orders that you are placing with your Suppliers and their status, but the view of your company’s Gross Profit.
This document shows details of the Purchase Order functionality within the following sections:
● How to change the Till Mode.
● How to select a Supplier.
● Understanding the Suggested Purchase Order window.
● How to investigate (drill down) suggested values.
➢ Customer Orders.
➢ Min/Max Levels.
➢ Suggested Reorder Values.
● How to turn a Suggested Purchase Order into an Actual Purchase Order.
● How to change order quantities.
● How to remove product lines.
● How to add products (not suggested) to a Purchase Order.
● How to complete a Purchase Order.
● How to print a Purchase Order.
● How to review Company Gross Profit.
● How to process deliveries using Purchase Orders.
● How to pay a Supplier Invoice against a Purchase Order.
● How to remove lines and reduce quantities from a part received Purchase Order.
[su_divider]
How to Change the Till Mode
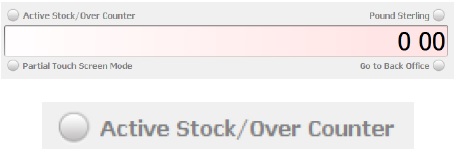
The Connect system will show the mode in which the till is working in a banner at the bottom of the Transaction Window.

From the Till Screen, click on the button to the left of the label ‘Active Stock/Over Counter’ which is situated in the top left hand corner of the Data Entry Field.
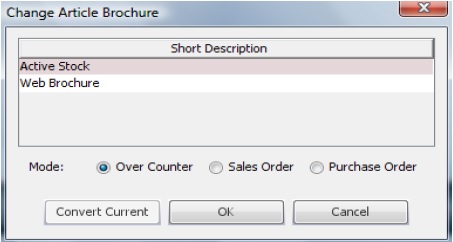
The Change Article Brochure window will appear.
Click on the label ‘Purchase Order’ and then click on the button labelled ‘OK’.
The Change Article Brochure window will disappear and return to the till screen.
Note that the banner has now changed to Purchase Order Mode.

Note that the button label has changed to Active Stock/Purchase Order.
![]()
Note: To put the till back into Sales Mode reverse the above process.
[su_divider]
How to Select a Supplier
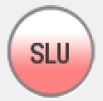
Click on the button labelled SLU.
The SLU – Supplier Look Up window will appear.
This window shows all created Suppliers.
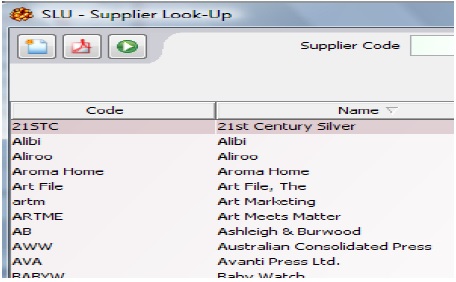
Click on and highlight the required Supplier in the list.
Click on the button labelled ‘Assign to current transaction’.

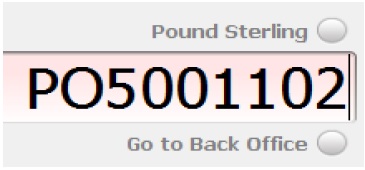
The SLU window will close and you will notice that the selected Supplier is now shown under the transaction window. A Purchase Order number has now been assigned and appears in the top left hand corner of the Transaction Window.
To change the Supplier click on the button labelled ‘SLU’ and follow steps 3 – 5 above.
[su_divider]
Understanding the Suggested Purchase Order Window
Click on the button labelled ‘Suggest’.
The Generate a Purchase Order window will appear.
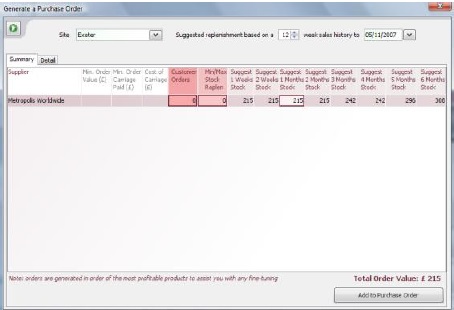
The suggested purchase order is generated based on the sales history for a 12 week period.
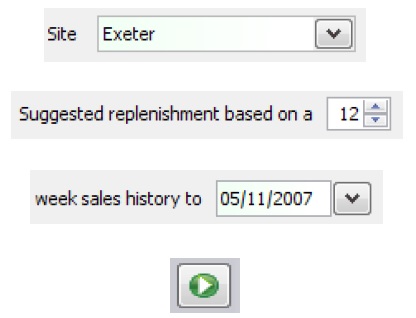
The default settings will be based on the 12 weeks prior to ‘today’s’ date. There are three fields at the top of this
window which can change to suit the circumstances. I.E. You may not want to order based on sales over the
Christmas period. If any of the above fields are changed, refresh the data shown in the window by clicking on the green arrow (GO! Button).
Columns 1 – 4
The suggested data for the Purchase Order is shown in main section of the window.
The first column identifies the Supplier. The following three columns show information that is stored against the
Supplier regarding order values for your reference.

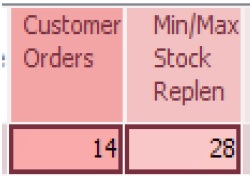
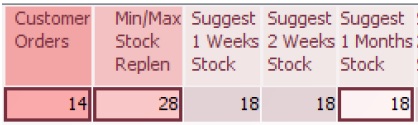
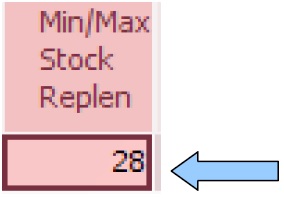
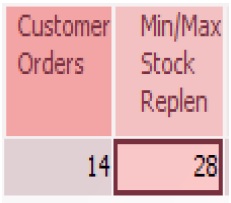
The next two columns are shown with a red highlighting and are labelled ‘Customer Orders’ and ‘Min/Max Stock
Replen’. These two columns are coloured to signify their importance when using suggested re-ordering.
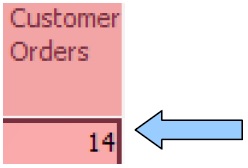
The column labelled ‘Customer Orders’ shows the Value(£) of outstanding customer orders that are applicable to
the chosen Supplier.
The column labelled ‘Min/Max Stock Replen’ shows the value (£) of lines which have reached their Min/Max
Level (set at article level).
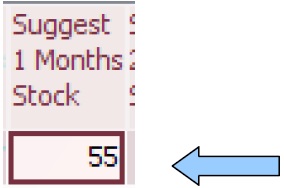
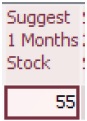
The next eight columns are suggest reordering values (£) based on the sales based history.
Each of the columns will contain values (£) where Connect suggests a re-order value for differing time periods: 1
Week, 2 Weeks, 1 Month – 6 Months.
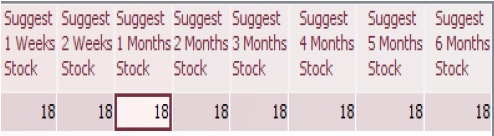
Please note the highlighted borders around the values for the columns labelled ‘Customer Orders’, ‘Min/Max Stock Replen’ and one of the columns for suggested replenishment by time period.
These are the values that Connect suggests reordering on this Purchase Order.
The total value for the suggested Purchase Order is shown in the bottom right hand corner of the window.
![]()
[su_divider]
How to Investigate (drill down) Suggested Values
Customer orders
Each field which contains a suggested value can be investigated. To view the detail behind a suggested value, double
click on the field containing the value.
The Detail tab will now come into view showing the product(s) which have sales/orders against them which have
triggered the suggested values.
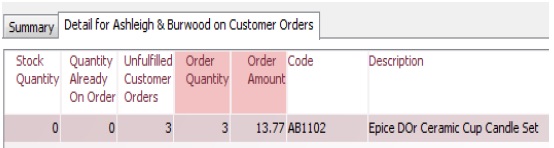
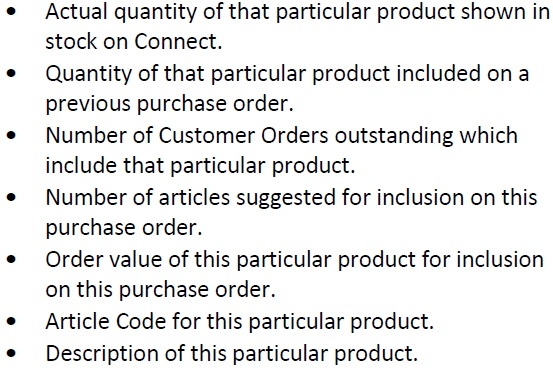
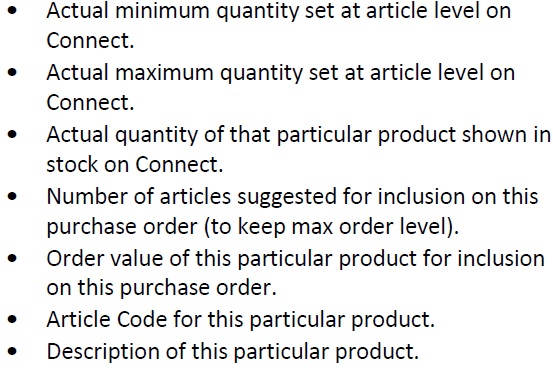
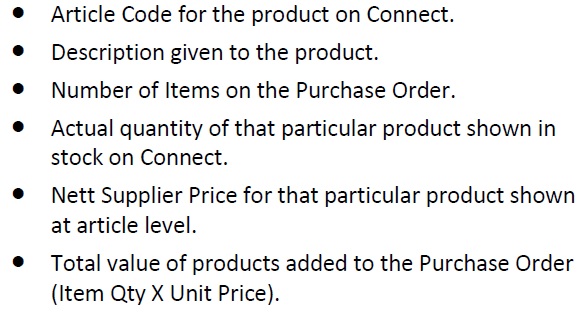
The detail tab contains the following information:
● Stock Quantity.
● Quantity already on order.
● Unfulfilled Customer Orders.
● Order Quantity.
● Order Amount.
● Code.
● Description.
To return to the suggested purchase order window click on the tab labelled ‘Summary’.
[su_divider]
Min/max stock replenishment
Each field which contains a suggested value can be investigated. To view the detail behind a suggested value, double
click on the field containing the value.
The Detail tab will now come into view showing the product(s) which have reached their minimum reorder levels
and have therefore triggered the suggested values.
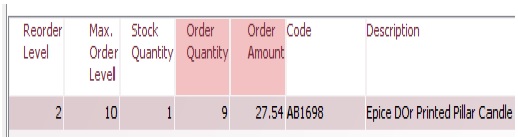
The detail tab contains the following information:
● Reorder Level.
● Max Order Level.
● Stock Quantity.
● Order Quantity.
● Order Amount.
● Code.
● Description.
To return to the suggested purchase order window click on the tab labelled ‘Summary’.
[su_divider]
Suggested replenishment (time periods)
Each field which contains a suggested value can be investigated. To view the detail behind a suggested value, double
click on the field containing the value.
The Detail tab will now come into view showing the product(s) which have been selling over the past 12 weeks and
have therefore triggered the suggested values.
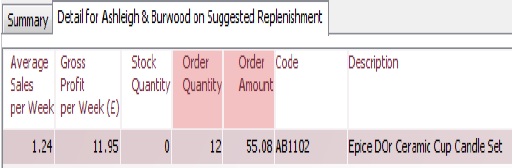
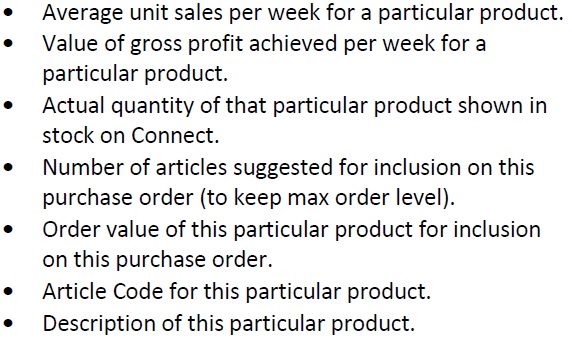
The detail tab contains the following information:
● Average Sales Per Week.
● Gross Profit Per Week (£).
● Stock Quantity.
● Order Quantity.
● Order Amount.
● Code.
● Description.
To return to the suggested purchase order window click on the tab labelled ‘Summary’.
[su_divider]
How to turn a suggested purchase order into an actual purchase order
The suggested purchase order figures automatically assumes that you would wish to include a) the values for
outstanding ‘Customer Orders’ and (b) required values to ensure that your ‘Min/Max Stock Replen’ are maintained.
To deselect either or both of these values, click on the appropriate field (with the border). When a field is deselected the border will disappear and the field will change to grey. The value will not be transferred to your Purchase Order. You can reselect by clicking on the field.
You will notice that a third value is highlighted with a border. This is the suggested value of products from this
supplier which would best replace your stocks based on the sales history.
Deselect any value by clicking on the value field.
If you wish to only use the suggested replenishment values for a shorter or longer time period click on the value you wish to add. This will move the border to your selected value.
If you do not wish to order any of the suggested values by time period click on the appropriate field (with the border). When a field is deselected the border will disappear and the field will change to grey. The value will not be transferred to your Purchase Order. You can reselect by clicking on the field.
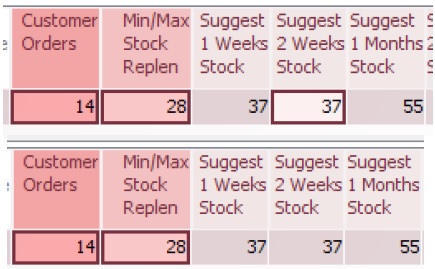
As values are selected or deselected the Total Order Value in the bottom right hand corner will change accordingly.
![]()
Then all appropriate values have been selected click on the button labelled ‘Add to Purchase Order’.

The Connect Till window will reappear. This will show all products in the Transaction Window that have been
selected for inclusion on this Purchase Order.
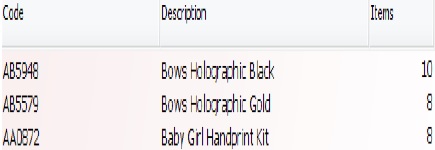
All suggested product lines are added to the Purchase Order in the same way that they are added to a Sales Transaction. Each line is detailed in the following way:
● Code.
● Description.
● Items.
● In Stock.
● Unit Price.
● Quantity Price.
[su_divider]
How to change order quantities
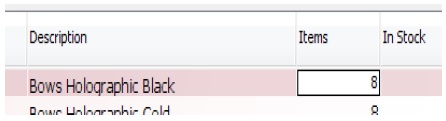
If you wish to change the quantity on the Purchase Order for a particular product line double click on the value
in the column labelled ‘Items’. The field will now appear white with a border.
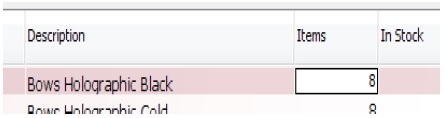
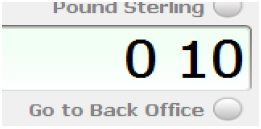
To change the value in this field, enter a value in the transaction entry field using the number pad.
Click on the * button in the bottom left hand corner of the number pad.

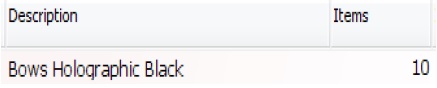
The field in the column labelled ‘items’ will now show the new value.

[su_divider]
How to remove product lines
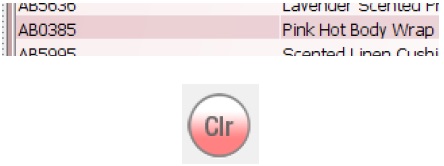
Click on a particular product line detailed on the Purchase Order. This will appear with a highlighted.

Click on the button labelled ‘CLR’. This high lit product will now be removed from the Purchase Order.

[su_divider]
How to add products (not suggested), to a purchase order
Click on the button labelled ‘ALU’.
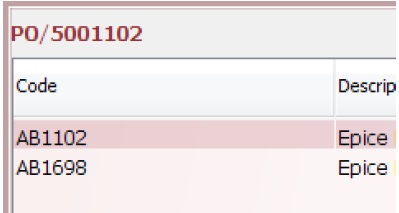
The Article Look-Up Window will appear. It shows all products on the Stock Tree for your chosen supplier on
the Purchase Order.
Click on the product you wish to add to the Purchase Order.
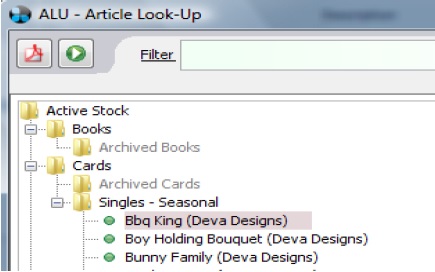
Click on the button labelled ‘Add’.
![]()
The product chosen will now appear on your Purchase Order.
![]()
A quantity of ‘1’ will be added to the Purchase Order. To increase the quantity of this product follow the steps in the section titled ‘How to Change Order Quantities’.
![]()
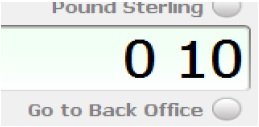
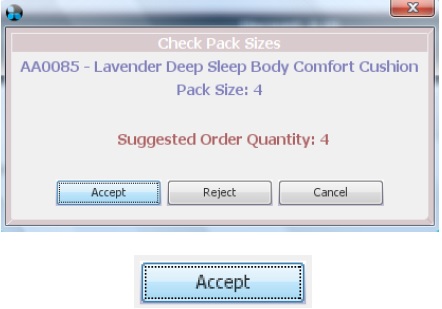
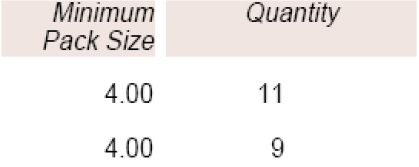
Check that the quantities added match the Suppliers Pack Size. Click on the button labelled ‘Pack Size’.
The ‘Check Pack Sizes’ window will appear. This window shows the first product on the Purchase Order where the quantity does not match the pack size shown against the article.
To change the quantity to match the pack size click on the button labelled ‘Accept’. This will automatically change
the order quantity in the Purchase Order.
The ‘Check Pack Sizes’ will continue to show further products where the pack sizes do not match. Once all lines have
been checked and accepted or rejected the ‘Check Pack Sizes’ window will disappear.
[su_divider]
How to Complete a Purchase Order
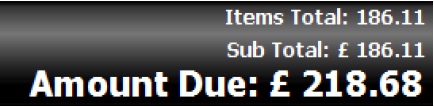
The total value of the Purchase Order is shown at the bottom of the Sales Transaction Window. This will reflect any changes made automatically.
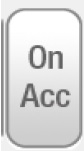
To complete the Purchase Order click on the button labelled ‘On Account’.
The Purchase Order will disappear from the Transaction Window and appear as a negative value in the Receipts
Window.
![]()
[su_divider]
How to Print a Purchase Order
Click on the button labelled ‘Print’.
The Adobe Acrobat Reader Window will appear. The order will be shown with your company address details; the
Suppliers’ address details, your account reference and a full list of all the products that you have placed on order.
The order does not show any monetary values but shows the Pack Sizes which are set at Article level on Connect and
the quantity of products that require reorder.
[su_divider]
How to Review Company Gross Profit
From the Back Office, click on the button labelled ‘Till Readings’.
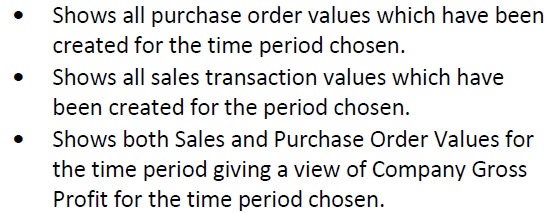
The Company Till Readings window will appear. An additional field labelled ‘include’ is available to view the following:
● Purchases Only.
● Sales Only.
● Sales and Purchases.
[su_divider]
How to Process Deliveries Using Purchase Orders
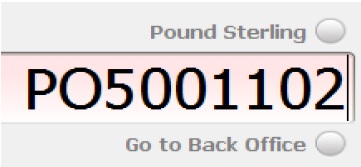
Enter the Purchase Order number into the Transaction Entry field of the Till. Press the return key on your keyboard.
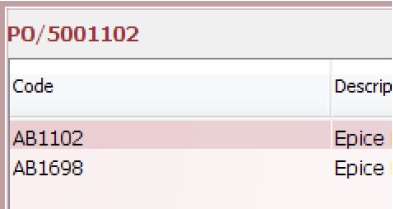
The Purchase Order details will show in the Transaction Window.
Click on the button labelled ‘Goods In’.
The Goods In Processing window will appear.
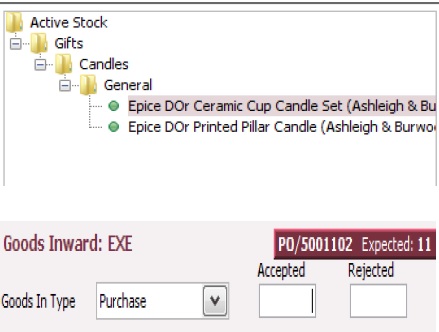
The left hand section of the window shows all products detailed on the Purchase Order in a filtered Stock Tree.
As each product is high lit in the left hand section full details of the product are shown in the right hand section. At
the bottom of the right hand section you will notice that the cursor is flashing in the field labelled ‘Accepted’. Above this field the Purchase Order Number is shown with the expected number of products.
Enter a value in the field labelled ‘Accepted’ to represent the number of products that will be added to your Sites’ stock quantity.
Enter a value in the field labelled ‘Rejected’ to represent the number of products which have arrived damaged.
If you do not wish to check each product line by line you can Goods-In all products on the Purchase Order by clicking on the button labelled ‘Goodsin All’.
![]()
Once Goods-in has been completed click on the button labelled ‘Close’.
![]()
The Till screen will reappear showing the Purchase Order. The column labelled ‘Status’ now shows the quantities of each product received.
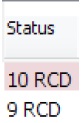
If you received a partial delivery, the purchase order will remain open for subsequent deliveries.
![]()
[su_divider]
How to Pay a Supplier Invoice Against a Purchase Order
Enter the Purchase Order number into the Transaction Entry field of the Till. Press the return key on your keyboard.
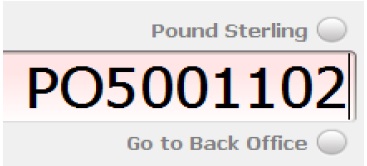
The Purchase Order details will show in the Transaction Window.
Check the value of the Connect Purchase Order against the Supplier Invoice.
If correct and for the full value.
If correct but Supplier Invoiced for less than the full value and awaiting further deliveries.
If incorrect,
Companies with centralised authorisation
Ownership of the Purchase Order should be passed back and forth between sites when dealing with partial
deliveries and partial payments. Steps to Pass Ownership are shown in the section titled CENTRALISED
AUTHORISATION.
[su_divider]
How to Remove Lines and Reduce Quantites from a part Received Purchase Order.
The following steps will enable you to change your Purchase Order when the Supplier has informed you that
the outstanding products will not be delivered.
Enter the Purchase Order number into the Transaction Entry field of the Till. Press the return key on your keyboard.
The Purchase Order details will show in the Transaction Window.
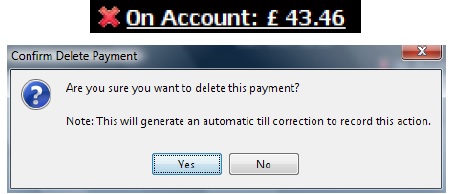
Click on the red cross next to the label ‘On Account’ in the totals section under the transaction window. The ‘Confirm Delete Payment’ window will appear. Click on the button labelled ‘Yes’.
[su_divider]
Deleting Lines from a Purchase Order
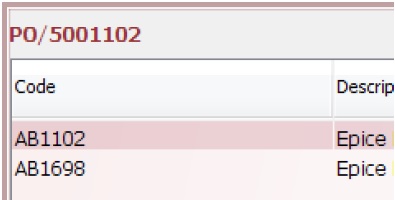
Click on and highlight the product line which you wish to delete. Click on the Clear button labelled ‘Clr’. This will
remove the line from the Purchase Order.
[su_divider]
Altering Stock Quantites on a Purchase Order
If you wish to change the quantity on the Purchase Order for a particular product line double click on the value in the column labelled ‘Items’. The field will now appear white with a border.
To change the value in this field, enter a value in the transaction entry field using the number pad.
This new value should represent the number of products already received.
Click on the * button in the bottom left hand corner of the number pad.

The field in the column labelled ‘items’ will now show the new value.
[su_divider]
Finalising the Purchase Order
The total value of the Purchase Order shown within the totals area at the bottom of the Sales Transaction Window will now reflect the changes made using the steps above.

To complete the Purchase Order click on the button labelled ‘On Account’.
Where any previous deliveries from the Purchase Order have been paid there should be no value remaining for ‘On
Account’.
Due to VAT rounding there may be a value of £0.01 left showing ‘On Account’.
[su_divider]