
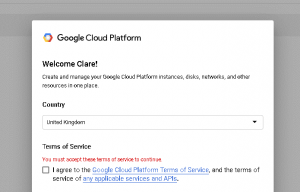
| 1. Sign up/in | Visit: https://console.developers.google.com You will need to login with your Google account, or create a new Google account.
Please agree to the Google’s Terms of Service. |
 |
|
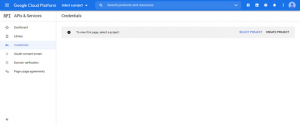
| 2. Credentials page | Navigate to the “Credentials” page within the “APIs & Services” section of the Google Cloud Platform. |
 |
|
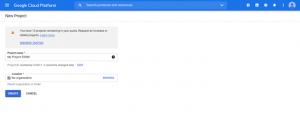
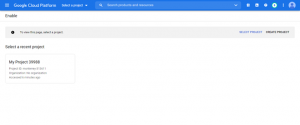
| 3. Create new project | Click on “create project”.
It does not matter what the project name or ID is set to. Click “create”. |
 |
|
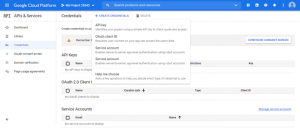
| 4. Create API key | Navigate to the “Credentials page”.
Click on “Create credentials”. Click on “API key”. |
 |
|
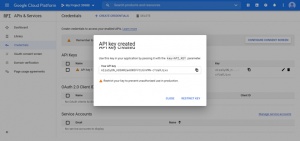
| 5. Save API key | Please copy your API key into an email to your Project Manager.
You do not need to restrict the key. Click “close”. |
 |
|
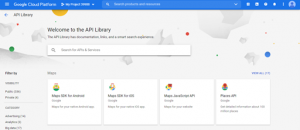
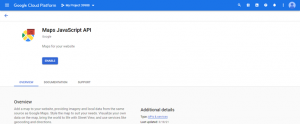
| 6. Add libraries | Navigate to the “Library” page.
Search for “Maps JavaScript API”. Click “enable”. |
  |
|
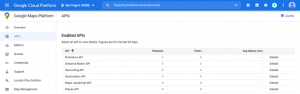
| 7. Add more libraries | Repeat step 6 for:
· Geocoding API · Geolocation API · Directions API · Distance Matrix API · Places API · YouTube Data API v3 |
 |
|
| 8. Billing page | Once you have enabled all 7 libraries to the API key, please visit: https://console.cloud.google.com/projectselector/billing/enable
Select the project that you have just created. |
 |
|
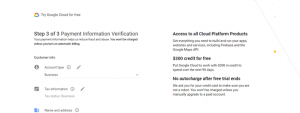
| 9. Enable billing | Click “create billing account”.
Enter billing details. |
 |
|
| 10. Send API key | Email your Project Manager with the API key that you copied earlier.
We will then add this to your website backend to complete the integration. |