
Use the Redirect section of the website editor to add 301 and 302 page to page redirects. Redirects direct users, search engine crawlers and any other party trying to access a removed page towards another page that you specify.
The website offers two types of redirect, permanent (301) and temporary (302).
- Permanent 301 – this redirect type notifies that a requested resource (usually page) has moved permanently. In this case if a page on your website has been removed or inadvertently removed through folder or product name change, you may wish to add a 301 redirect.
- Temporary 302 – this notifies that a requested resource (usually page) has moved temporarily. You will find less use cases for this type of redirect, but for example, you may wish to use it when adding a redirect from a seasonal page that you plan to reinstate at a later date.
Note; for a new or edited redirect to take effect your website may require a restart.
Before You Begin – Important Information
The redirect controls are primarily intended for third-party search engine optimisation companies and SEO professionals. Changing settings in this area without fully understanding the purpose could negatively affect your website search engine listings or worst case, cause unexpected downtime for your website. Actions performed within the Redirect section of the website’s editor fall outside the scope of standard Intelligent Retail support service. Any remedial work will therefore incur an hourly charge. If you would like information regarding Intelligent Retail’s Search Engine Optimisation and Managed Online Marketing services, then please send details of the enquiry to ecs@intelligentretail.co.uk.
Where to add redirects
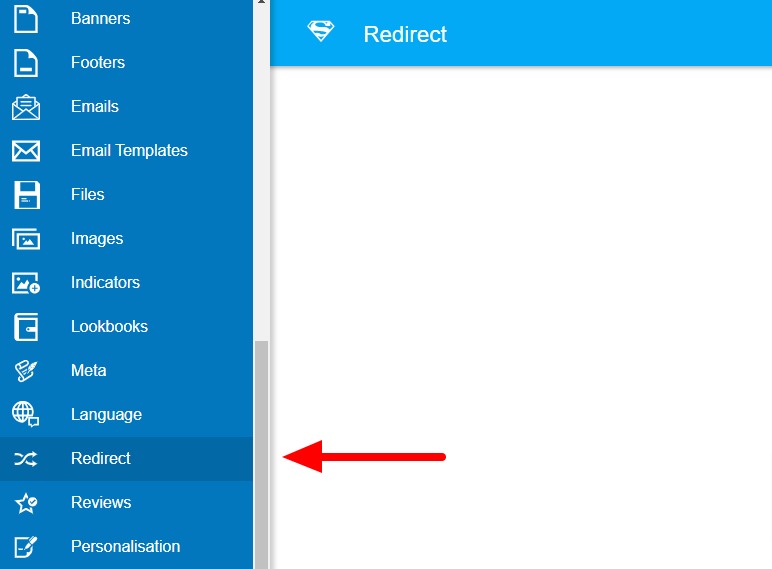
Navigate to the ‘Redirect’ section in the website’s editor. The link to this section can be found in the left menu.
In the bottom right-hand corner click the green plus icon. This will launch the ‘Create New Redirect‘ pop-up where you will be able to add a new redirect.
How to add a new redirect
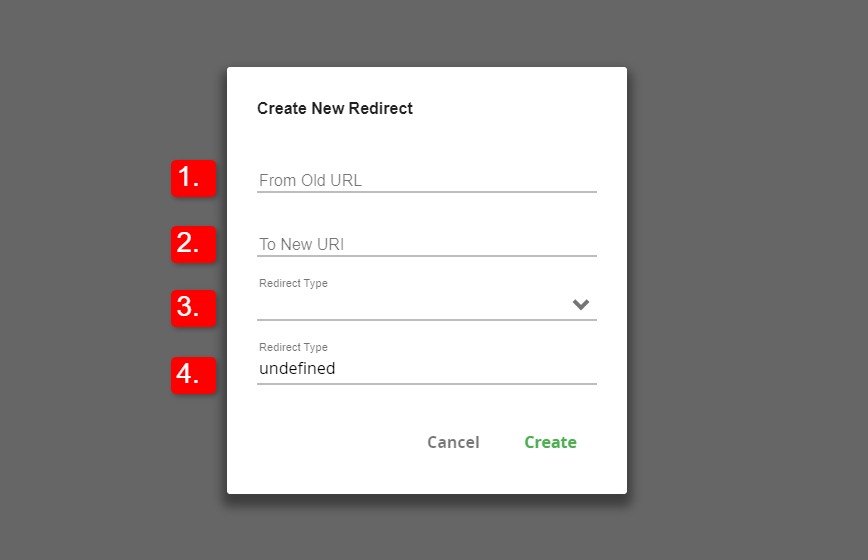
- From Old URL – Enter the full URL of the page that is going to be redirected
- To New URI – Enter the URI of the target page. This is the part of the URL that comes after the domain and it’s trailing forward-slash. I.e. the parts in bold in the following examples:
- exampledomain.com/category-name.irc
- exampledomain.com/c/category-name
- Redirect Type (1) – Select the type of redirect required from the drop-down menu, either temporary (302) or permanent (301)
- Redirect Type (2) – No action required. This will be filled in based on the selection made in the step above
- Click ‘Create’
How to edit an existing redirect
- Locate the existing redirect – find the entry in the list or use the search functionality. Search using the magnifying glass icon located in the top-right of the screen.
- Click the Cog icon next to the redirect that you wish to edit, then select Edit from the options.
- Make your changes and then click Save.
[bws_pdfprint display=”pdf,print”]