
This document explains the process for taking orders through the Connect Till where the customer is not present.
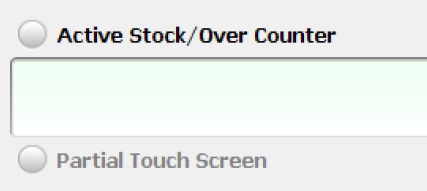
From the till, click on the button to the left of the label ‘Active Stock/Over the Counter’.
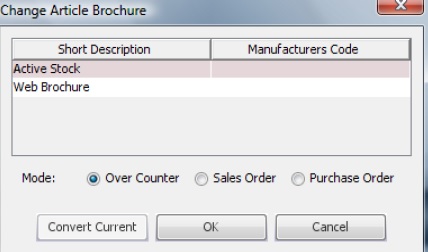
The Change Article Brochure window will appear.
Select ‘Sales Order’ by clicking on the radio button or the label ‘Sales Order’.
Click on the button labelled ‘OK’.
The window will close and you will notice that the banner at the bottom of the Sales Transaction Window will now show ‘Sales Order Mode’.

Enter all products required by the customer to a Sales Transaction.
Scan Barcodes or enter product code.
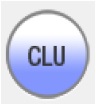
Attach a customer to the sales transaction by clicking on the button labelled CLU. Create a new customer or choose an existing customer from the list.
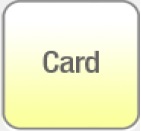
Take payment. When using integrated chip and pin press the payment button labelled ‘Card’. Enter card details to complete the payment.
When using a non-integrated card machine enter the value into your credit card machine and ensure authorisation prior to clicking on the button labelled ‘Card’.
Once payment has been received the receipt will be printed to the receipt printer and will include the customers billing and delivery address where applicable and the sales transaction close. To reopen the sales transaction double click on the receipt from the sales receipts window (top left).

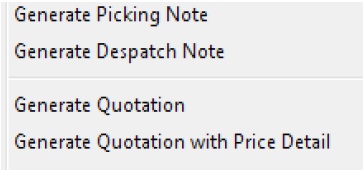
Printing Sales Order Documentation to an A4 printer. Right click on the sales transaction window. Click on ‘Documentation’ and choose a document type from the drop down list. This documentation will now print to an A4 Printer.
[su_divider]