
How to Control the Opening of the Cash Drawer
A simple ‘No Sale and Cancel’ will not cause the cash drawer to open. However, if you enter a reason and click ‘Other,’ the cash drawer will open. The following explains how to configure Connect to better control the opening of the cash drawer.
This involves requiring staff to login to the till using passwords, called swipe codes, then signing a receipt (No Sale Signature Strip) to authenticate the No Sale transaction.
[su_divider]
Main Steps
1. Allocate staff passwords, called swipe codes.
2. Configure Connect to require swipe codes to login.
3. Configure Connect to print No Sale Signature Strips.
4. Create any additional No Sale Reason Codes if necessary (found in a separate help sheet).
Allocating Staff Swipe Codes
From the till, go to the Back Office.
![]()
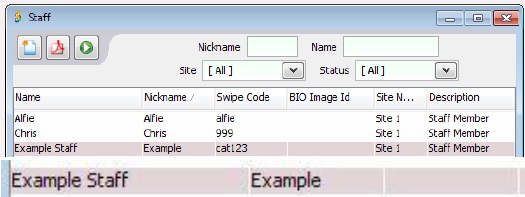
Click the ‘Staff’ icon.

Double-click the relevant staff member.
In the Swipe Code field, type in a swipe code.
A swipe code is a password to enter the till. It can be any combination of letters and/or numbers, but keeping it short and simple is recommended.
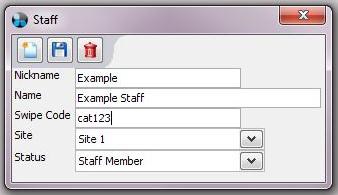
Click ‘Save’.
![]()
Click ‘Close’.
![]()
[su_divider]
Configuring Connect to Require Codes to Access the Till
From the Back Office, click ‘Tools’.
![]()
Click ‘Configure’.

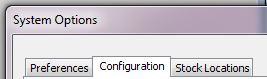
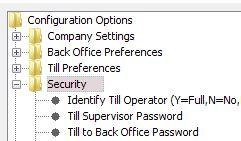
Open the ‘Configuration’ tab.
Click ‘Security’.
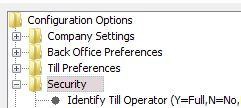
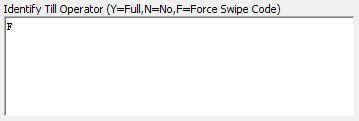
Click ‘Identify Till Operator’.
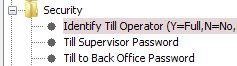
In the box on the right, change ‘N’ or ‘Y’ to ‘F’ (in upper case).
‘N’ sets the till to open without identification.
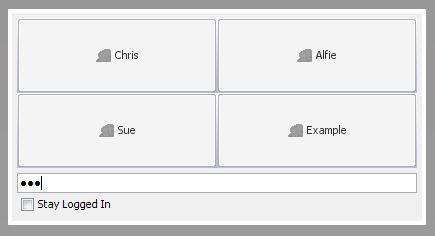
‘Y’ sets the till to display a set of buttons with staff names, one of which must be clicked to open the till.
‘F’ sets the till to open with a swipe code for identification.
Press ‘OK’.
![]()
Close Connect using the ‘X’ in the top right corner, then reopen Connect.
![]()
[su_divider]
Configuring Connect to Print No Sale Signature Strips
From the Back Office, click ‘Tools’ in the top menu bar.
![]()
Click ‘Configure’.
Click the ‘Configuration’ tab along the top.

Click ‘Security’.
Click ‘Print No Sale Signature Strips’.
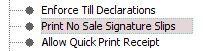
In the box on the right, change ‘N’ to ‘Y’ (in upper case).
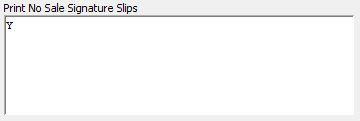
Click ‘OK’ to save.
![]()
Create any additional No Sale Reason Codes if required (see help sheet titled ‘Setting Up No Sale Reason Codes’).
Close Connect, then reopen.

[su_divider]
Processing a No Sale Transaction
Open Connect and log on to the till using your swipe code.
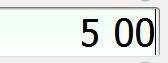
If money is going in or out, enter the amount in the till transaction bar.
Click ‘No Sale’ along the bottom of the screen.

Click a reason, or enter a reason in the text box and press ‘Other’ if not a pre-set option.
(If a monetary reason, enter a reason and click either ‘Other cash withdrawal’ or ‘Other cash deposit’).
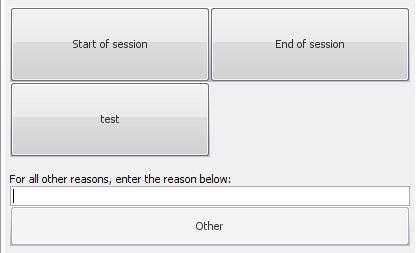
or
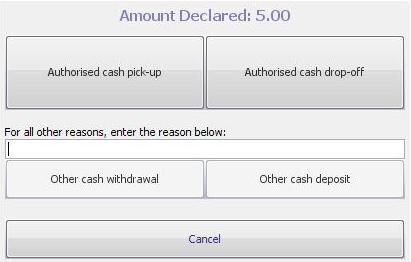
The cash drawer will open, and a No Sale Signature Strip will print.
Sign the Signature Strip to acknowledge responsibility.
Place the Signature Strip in the cash drawer and close the drawer.
[su_divider]
Auditing No Sale transactions
In the top left corner of the till screen, find the transaction panel, and double-click a No Sale transaction.
These are displayed in red with a C icon.
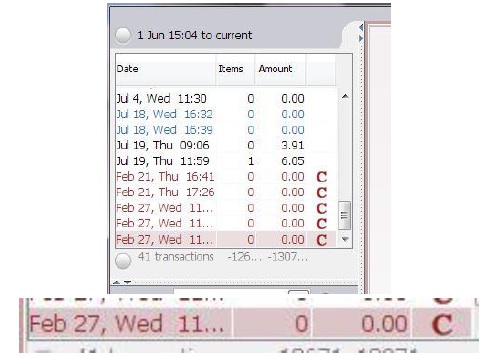
The No Sale will display in the window on the right.
The Description column will show:
- The staff member’s name (e.g. Example).
- The reason (e.g. Other cash withdrawal: Test No Sale).
- The amount withdrawn/deposited (if monetary, e.g. £5.00).

Find the No Sale Signature Strips in the cash drawer and make sure there is one for each No Sale in the transaction panel.
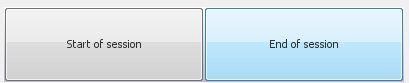
To find the total number of till corrections, including No Sale transactions, click ‘No Sale’.

Click ‘End of session’.
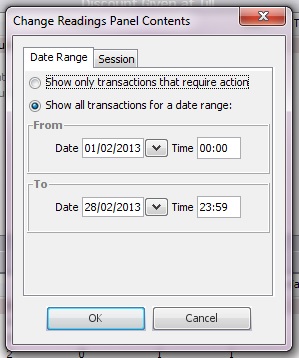
At the top of the window, click the circle next to the date range to change it.
![]()
Set the ‘From’ and ‘To’ dates for the range you would like to audit and click ‘OK’.
Click ‘Run’ in the top left corner of the window.
![]()
Click the ‘Staff and Discounts’ tab.

Go to the ‘Sales by Staff’ table at the bottom.
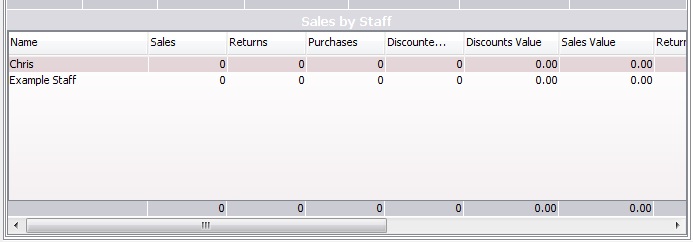
Drag the scroll bar at the bottom of the table to the right.
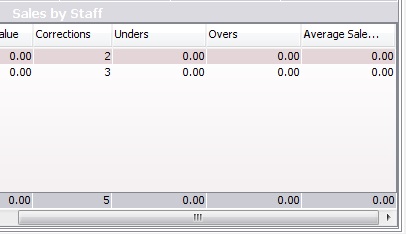
Under the column ‘Corrections’, find the number of corrections, including No Sale transactions, performed by each member of staff, as well as the total at the bottom.
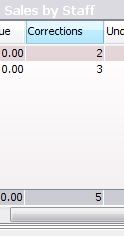
Click ‘Print’ to get a PDF of the session (if necessary), which will report on till corrections under ‘Sales by Staff’.
![]()
[su_divider]