
In this document we will go through how to personalise the content that is printed out on your receipts.
In the ‘Back Office’ go to ‘Tools’ and select ‘Configure’.
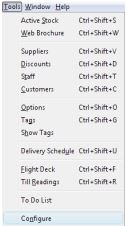
Go to the ‘Configuration’ tab.
![]()
Locate and expand the ‘Receipt Printer Personalisation’ folder.
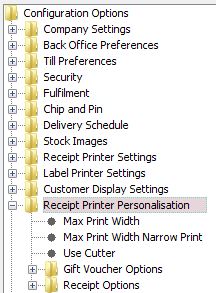
You will now need to locate and expand the sub-folder called ‘Receipt Options’.
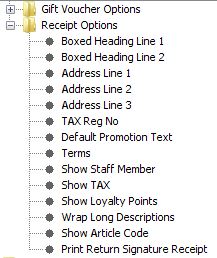
Here you have all the available options to customise on your receipt printouts. After making any changes, click the ‘OK’ button, close any other open windows and restart the Connect software for the changes to take effect.
[su_divider]