
This document describes how to create a Web Shop within Connect to enable the upload of products, their descriptions and images to your website.
The easiest way to create a web shop is dependent on pre-created products in the Active Stock Tree. Upload of the Web Shop is dependent on an existing Connect Website.
The categories that you create do not have to be identical to the ones that you have already created in your Active Stock tree.
The Web Shop has the following additional functionality:
- Products can appear in multiple groups.
- Products can have multiple images.
- Groups have an image and Full Text.
- Ability to create featured Items.
- Ability to link products to one another.
Where to Find the Web Shop
From the Back Office, click on the ‘Channel Centre’ button.

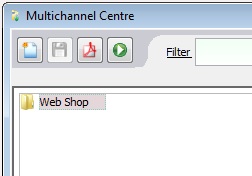
The ‘Web Shop’ window will appear. This window has similar functionality to the Active Stock window which enables you to create groups, sub groups etc.
[su_divider]
How to Create Categories on your Web Shop from Scratch
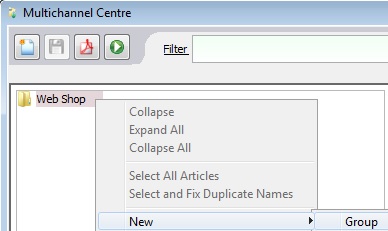
Right-click on the category ‘Web Shop’ at the top of the stock tree.
Choose ‘New’ and ‘Group’ from the list of Actions.
A new group will appear, use the backspace on your keyboard to remove the text shown.
Type in the name for the group you wish to create and then press ‘Enter’.

Click on the ‘Save’ Icon.
![]()
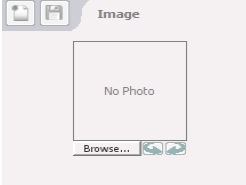
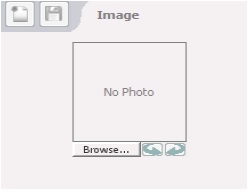
Groups created in the Web Shop have the facility to add an image and Full Text.
Click ‘Browse’ and select the appropriate image for the group.
The image for a group is usually an image that represents the products within the group or a photograph of a selection of the products to be found in this category.
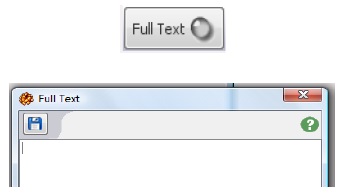
Click ‘Full Text’ to add descriptive text about the category. This can be used to add text content your website category (alternatively you can use banner or footer files in the Content Editor).
Note: If you add text to a category then all categories at the same level must also have text added.
![]()
To add sub categories, right click on the category you wish to create a sub category for and choose ‘New’ and ‘Group’ from the menu.
[su_divider]
How to Copy Categories/Products from the Active Stock Tree to the Web Shop
Open the ‘Web Shop’ window.

Open the ‘Active Stock’ window.
Within the ‘Active Stock’ Window highlight the product(s) or group of products that you wish to copy to the Web Shop.
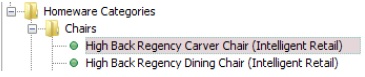
Right click on the product and choose copy from the menu.

Click on the ‘Web Shop’ button to bring it to the foreground.
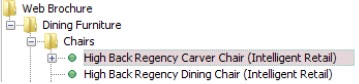
Right click on the destination group for your product(s), and choose ‘Paste’ from the menu.
Note: Pasted products will appear in italics until saved.
![]()
Click on the ‘Save’ Icon.
![]()
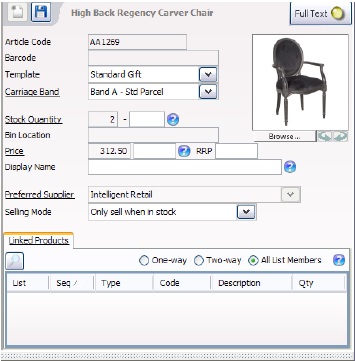
Note that all attributes for the product(s) now show in the right hand window.
Any changes to the attributes will replicate to the Active Stock Window.
Deletion of products within the Web Shop will not affect the Active Stock window.
[su_divider]
Additional Fields on Products
Highlight a product in the Web Shop.
In the right hand window you will notice the following additional fields:
- ‘Stock Quantity’
The additional field for Stock Quantity enables you to decide the quantity of stock you wish to make available to the Website i.e. Protecting a quantity available to your shop. Enter a value in the field to the left of the green question mark to represent the quantity you wish to withhold from the website.
- ‘Price’
The additional field for Price enables you to change the price of the product on your website. i.e. A lower price perhaps to make you more competitive on the web.
Enter a value in the field to the left of the green question mark.
- ‘Display Name’
The additional field for Display Name enables you to change the name of the product for better search engine optimisation (SEO) results. If you leave this field blank then the product name will stay as it was originally set.
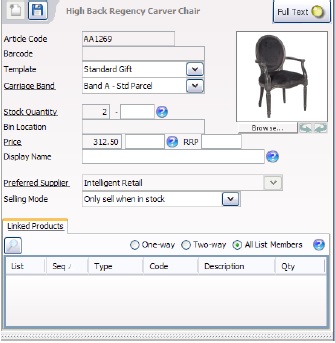
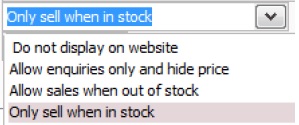
The Selling Mode field enables you to choose how this product is shown on the website. Click on the down arrow to the right of the field labelled Selling Mode and choose from the following:
- Do Not Display On Website.
- Allow Enquiries Only and Hide Price.
- Allow Sales when out of stock.
- Only sell when in stock – default setting.
[su_divider]
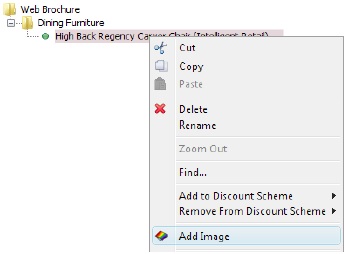
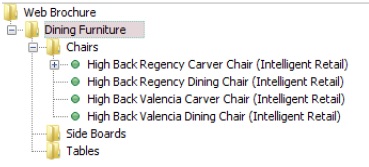
Adding Additional Images to an Product
Right-click the product in the Web Shop to which you wish to additional images.
Choose Add Image from the action list.
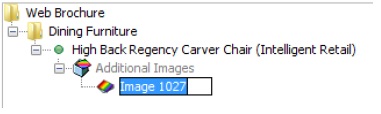
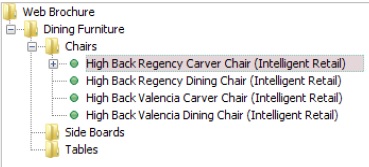
Note that a further group labelled Additional Images has been added below the product.
Under this group an Image file has also been added. Rename this ‘Image XXX’ with a relevant name i.e. High Back Regency Carver Chair Side View and press ‘Enter’ on your keyboard.
To add further images to this product, right click on the words Additional Images and choose Add Image.
Highlight the renamed image. The right hand window enables you to add an image (click on the button labelled ‘Browse’ under the photo place holder).
Each additional image enables you to add Full Text to give further information.
Click on the button labelled Full Text. The Full Text window will appear. Enter any additional information to describe the image.
[su_divider]
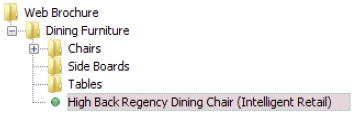
Creating Featured Items
Featured Items enable you to promote particular products on your website to your web customers when they are viewing either the homepage or a Category page.
Open the Web Shop Window.
Products which you wish to be Featured Items must appear at the bottom of the list within the highest level Category.
Right click on the product to be featured and choose copy from the action list.
Right click on the highest level category to which it belongs.
Choose Paste from the action list.
There is no limit to the number of products that can be created as featured items.
Note: regarding SEO (Search Engine Optimisation).
Try to avoid too deep a category structure – it’s best (from both a user and a search engine prospective) that you don’t have to go more than 3 or 4 pages to find a product from the homepage, so a main category and then one or two sub category (with products in it) is fine, any more than this is not recommended.
If you are change the name of existing categories or products, please remember that the name creates the uri for the page and if the name changes the existing page will become ‘not found’. You will then need to add a redirect from the old page to the new page in the Content Editor. This helps to direct users and search engines to the new category or product page, and helps to mitigate the risk of any existing ranking positions dropping in search.
Where old categories pages had banner or footer files associated with them, please also remember to transfer these over the new category page. Similarly, if the old category or product pages had any individual page specific meta policies, these would need to be transferred to the new page.
[su_divider]