
This document describes a retail scenario to show how to sell a product that you do not currently have in stock
but are willing to order in for a customer.
Where to find Stock Locations
Click on Tools in the Windows Menu Bar at the top of the Back Office window. Choose Configure from the drop down list. The Systems Options window will appear.

Click on the Stock Locations Tab.
![]()
By default this window will show a list of sites that have been created for you on installation. Each site has a name, code, region and type.

[su_divider]
How to Activate Back Order Fulfilment
Double click on the site labelled Site1.

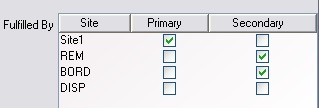
The Sites window will appear, in the bottom half of the window you will notice that there are a list of sites in the section labelled Fulfilled By, each with a check-box.
Site 1 will always be the only Primary fulfilment site.
For each site, click on the check-box in the column labelled ‘Secondary’ where you would like sales to be fulfilled from, when there is no stock at the primary site.
Click on the red cross in the top right hand corner of the Sites window to close it.
![]()
Click on the OK button in the System Options window to close it.
![]()
[su_divider]
Adding Products to a Sales Transaction where Product is not in Stock
Add product to sales transaction. The column labelled ‘Stock’ shows zero in stock and a status of ORD (Ordered).

Assign a customer to the sales transaction using the CLU button.

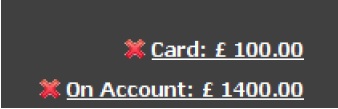
Take a deposit for the order and place the balance on account.
At the end of the day, whilst cashing up, click on the button labelled Nonstock Order. Adobe Acrobat will display all
required orders for Suppliers.
![]()
[su_divider]
Stock Position after Sales Transaction
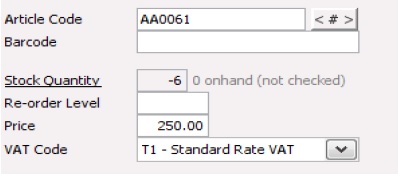
Look at the product in the Active Stock window in the Back Office.
Note that the Stock Quantity is showing -6 with 0 on hand.
Click on the words Stock Quantity. The Article Stock Holding window will appear.
Note that the stock holding at Site1 shows 0 stock and Back Order shows 6 Allocated and -6 Available.

[su_divider]
Delivery of Products from Supplier
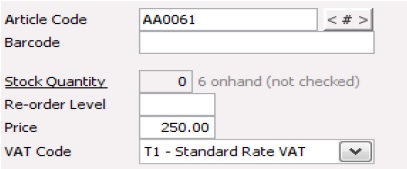
In the Back Office create a Goods In for the product using the reason code of Purchase.

Note that the Stock Quantity field is now showing 0 in stock but 6 on-hand.
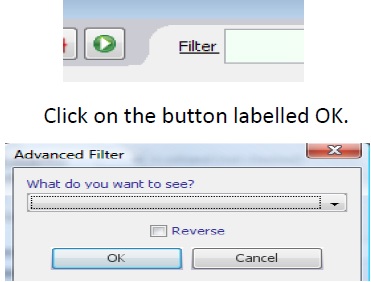
Click on the word Filter at the top of the Active Stock window. The Advanced Filter window will appear.
Choose ‘Goods-In Accepted’ from the drop down list. Choose an appropriate date and time range.
With the product highlighted click on the reports button.
![]()
Select Only Selected Rows and choose the report labelled Customers Awaiting Products.
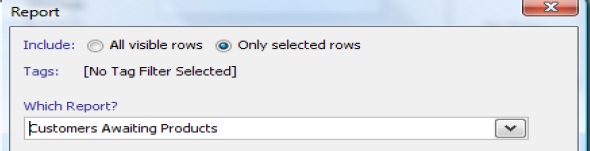
The report will show a list of customers awaiting the product highlight.

Note; You can now choose which Customers will get the first allocation of stock. You can now ring your customer to inform them of the delivery and request the final balance payment.
[su_divider]
Allocating Stock to a Sales Transaction
At the Till, enter the Order Ref No shown on the Customers Awaiting Products report.
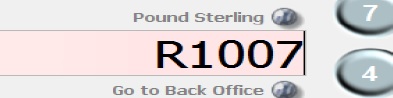
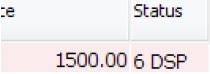
The Sales Transaction will appear. The banner at the bottom of the sales transaction window will show the stock available.
![]()
Click on the Yellow Button. The Status of the products will change from ORD (order) to DISP (despatched).
Note. You can take further payments; choose delivery slots etc prior to and after allocating products. All the
above examples have been shown using one product but you can create reports etc. for multiple products.
[su_divider]
Stock Position after Stock Allocation
Look at the product in the Active Stock window in the Back Office.
Note that the Stock Quantity is showing 0.
Click on the words Stock Quantity. The Article Stock Holding window will appear.
Note that the stock holding at Site1 shows 0 stock and Back Order shows 0 stock with no products allocated.

[su_divider]