
From time to time payment providers will ask you to update payment logos or the cards that they accept on the website. This guide will cover downloading your existing logos for updating. These can then be uploaded via the content editor back to your website.
On your website home page scroll down to the footer section to locate the payment logo you wish to change.
![]()
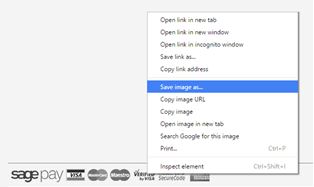
Right click on the payment logo you wish to change, this should pop up a menu allowing you to save the image.
From the menu choose either ‘save image as..’ or ‘save picture as..’ . The exact wording will depend on the browser being used.
If the menu does not allow the option to save the file, you can then download the payment logos image directly by using the following URL ….
Apply the Step above to save the file.
Colour: www.intelligentretail.co.uk/images/payment-logos.png
![]()
Greyscale: www.intelligentretail.co.uk/images/payment-logos-gs.png
![]()
Note: Replace www.intelligentretail.co.uk with your own website domain
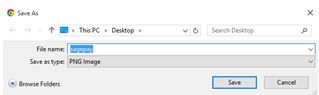
You will now be prompted to save your image, choose a suitable location on your computer and click save.
Important:
DO NOT change the name of the image
Open and edit the downloaded image in your favourite image editor that supports .PNG files, eg. Adobe Photoshop, Paint.NET, GIMP
Important:
DO NOT change the pixel size of the original image.
Stay within the area allocated for the payment logo you are replacing.
Once you have finished updating your image make sure that you save the file with the exact same name and file extension as the original that was downloaded. e.g. .jpg .png
Log on to your Website Management Area on your website using your Full Admin Access email you have.
For more help with using the Content Editor please see our helpsheet ‘Using the Content editor’
![]()
Using the file upload facility in the content editor upload the edited image file to the site.
The image on the website should now be replaced with revised edited image.
[su_divider]