
In this guide we will look at how you can add Security Roles to your Staff. You could use this to allow or restrict access to all areas of the Connect Till system.
Getting Connect Ready
You will first want to make sure that you have assigned Swipe Codes to your staff and that they are forced to sign in.
From the Back Office, go to Tools > Configure.
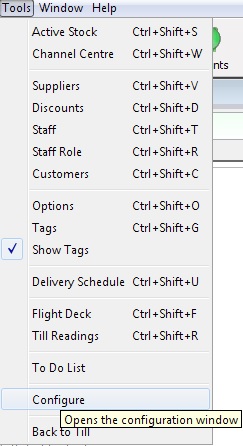
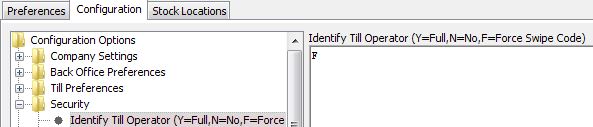
Click the ‘Configuration’ tab, locate the ‘Security’ folder and select ‘Identify Till Operator (Y=Full,N=No,F=Force).
Change the value on the right here to be ‘F’. Close any windows and restart Connect for the changes to take effect.
The next thing is to make sure that all Staff have been assigned a Swipe Code. To do this, in The Back Office, click on the ‘Staff’ button.

Your ‘Staff’ window will now open. You can view existing or create new members here.
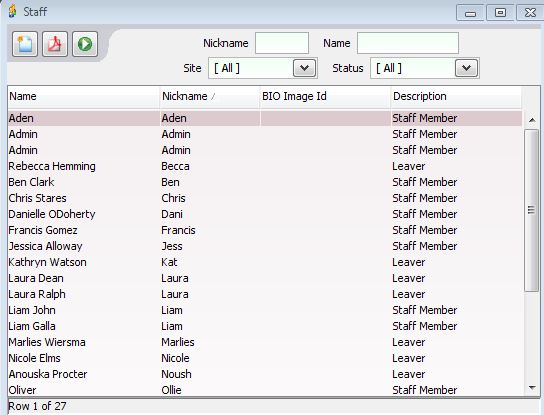
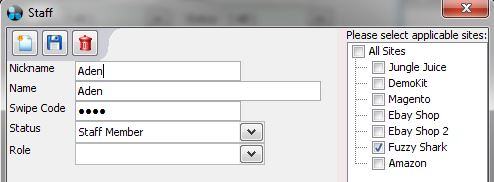
Double click into an existing member to assign a swipe code.
Make sure to save any changes.
![]()
[su_divider]
Create a Global Admin
Setting up Staff Roles is very powerful and we strongly recommend you create a Global Admin who can administer all accounts.
From the Back Office, select Tools > Staff Role.
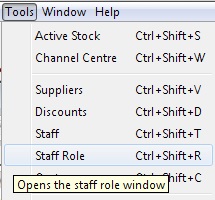
The ‘Staff Role’ window will now open.
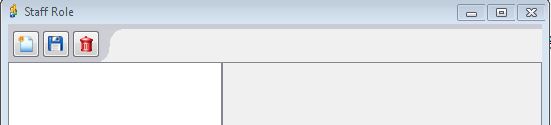
Click on the ‘New’ icon.
![]()
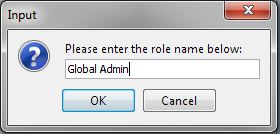
You will be asked to name the role being created. In this case we enter ‘Global Admin’ and press OK.
You will now be taken back to the ‘Staff Role’ window where you will see the newly created role. You will now need to ‘tick’ the applicable permissions. As this is the ‘Global Admin’, select ‘All Features’ on the right.
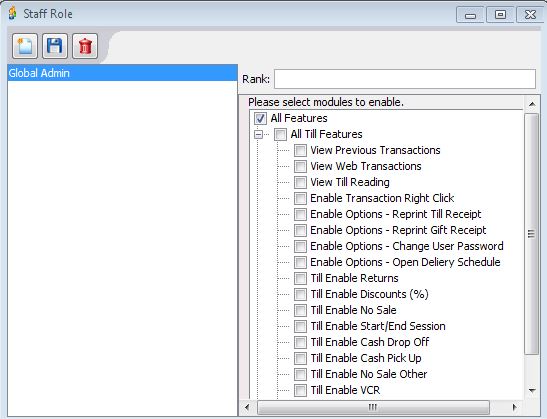
Now press the ‘Save’ icon.
![]()
[su_divider]
Assigning the Global Admin to a Staff Member
Now we have a Global Admin we need to assign a member this role. In the Back Office, click on ‘Staff’.
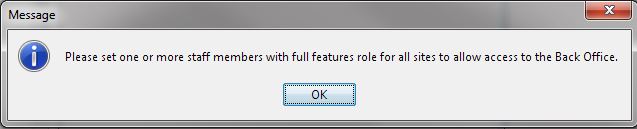
You will be presented with a message to prompt that you have a role that needs assigning. Click ‘Ok’.
Your ‘Staff’ window will now open.
Double click into an existing member. You now have the option to assign the role and for which site(s) this applies for. As this is the ‘Global Admin’, make sure to tick ‘All Sites’ and select the new role from the drop down.
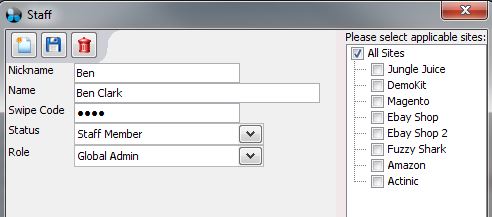
Press the ‘Save’ icon.
![]()
[su_divider]
Assigning remaining Staff Members User Roles
Now you have set a ‘Global Admin’ you will want to assign the remaining staff a user role. We will need to follow the above steps in Tools > Staff Role. An example would be to create a Back Office user only or a Till user only, you can even customise exactly what they can do in these particular areas.
In the below example we will look at creating a Till only user. Go Back to Tools > Staff Role and select ‘New’. Create the role and tick as much as you would like to give access to.
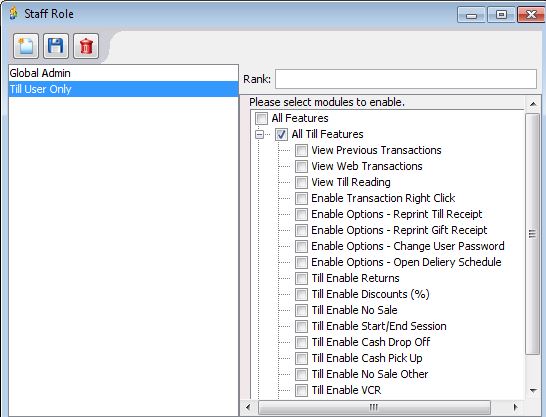
Make sure to save your changes.
![]()
Close the ‘Staff Role’ window and press on the ‘Staff’ button.
Now double click on the member you wish to assign the new role to, assign the site(s) the user has access to and assign the ‘Role’ in the drop down.
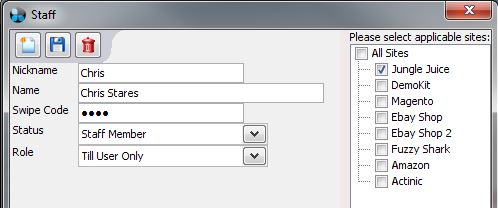
Make sure to save your changes.
![]()
Note: You will want to assign all staff members roles. All staff should have a role, without it, they will not show as a member to login with. The ‘Global Admin’ could retrospectively add this in but it is advised to have a staff role assigned to a member from the outset.
Restart Connect for the changes to take place.
When you now login as a staff member with only permissions for the Till for example, going into the ‘Back Office’ will prompt for a new ‘Swipe Code’. At this point, a member with Back Office privileges may sign-in.
[su_divider]
Disabling Certain Features
There maybe times where you want to restrict certain features. For example, you may not want a Till user to be able to put transactions ‘On Account’. When in Tools > Staff Role and editing a role, make sure not to tick the feature(s) the user will not have access to.
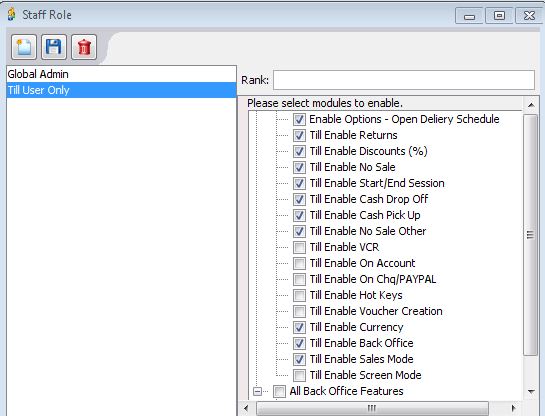
Make sure to save your changes.
![]()
Restart Connect for the changes to take place.
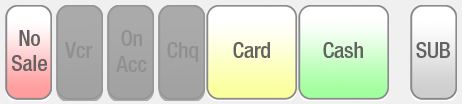
When logged in as a restricted user, you will see that the features that were not ticked are greyed out.
[su_divider]
Removing Staff Roles
Should you wish to remove a member from a Staff Role, you will first need to go into the Back Office and open up the ‘Staff’ menu.
Double click into the staff member whose role you wish to remove. Change the ‘Role’ section to be blank.
Close the ‘Staff’ menu and go to Tools > Staff Role
You can now select the Role that has no members assigned to it.
Click the delete icon.
![]()
[su_divider]