
Programmable Barcodes are used in grocery stores and many other types of stores for products that have been weighed and pre-packed using a Label Printing Scale.
There are a number of configuration settings that come with this feature.
Enabling Programmable Barcodes
In the Back Office you will first need to enable using Programmable Barcodes by going to Tools > Configure .
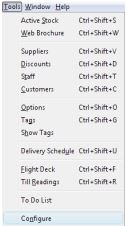
Selecting the ‘Configurations’ tab.
![]()
Locate and expand the folder ‘Till Preferences’ and then the sub folder ‘Programmable Barcode’.
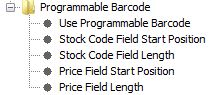
Set ‘Use Programmable Barcode’ on the right hand side to – Y.
[su_divider]
Understanding the Other Settings
Other than switching the feature on, there are a number of other settings that make up how your Barcodes will be read by Connect.
Stock Code Field Start Position – This will indicate where in the Barcode your Stock code starts.
Stock Code Field Length – This will indicate how many characters to count in the Barcode for your Stock code.
Price Field Start position – This will indicate where in the Barcode your Price starts.
Price Field Length -This will indicate how many characters to count in the Barcode for your Price.
[su_divider]
Example
Set ‘Stock Code Field Start Position’ to 4, ‘Stock Code Field Length’ to 4, ‘Price Field Start Position’ to 9, ‘Price Field Length’ to 4. Then restart Connect.
Set your stock code into the Barcode field, i.e. 0030.
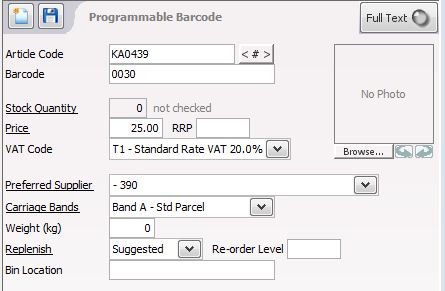
Note: The Price is showing as £25.00. If the Article Code KA0439 is entered on the Till, it will add the product with the price of £25.00.
Now scan a Barcode of either 0200030102617 or 200030102617 into the Till.
![]()
You will see product KA0439 is added to the till with the price that is in the Barcode. In this example, it would be £2.61.
![]()
[su_divider]